And I feel that I may struggle to obtain one. Therefore, I decided that I would sit down and make one.

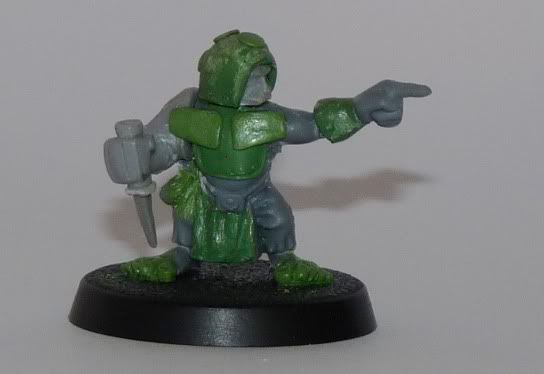
Working off this for inspiration, I started to raid my bitz box. Now I have nothing that can offer me feetof that size. But I could find a few other interesting bits and pieces. Stage one of my very own Puggy may be found below.
Never really tried to sculpt greenstuff before so this might be an interesting process.
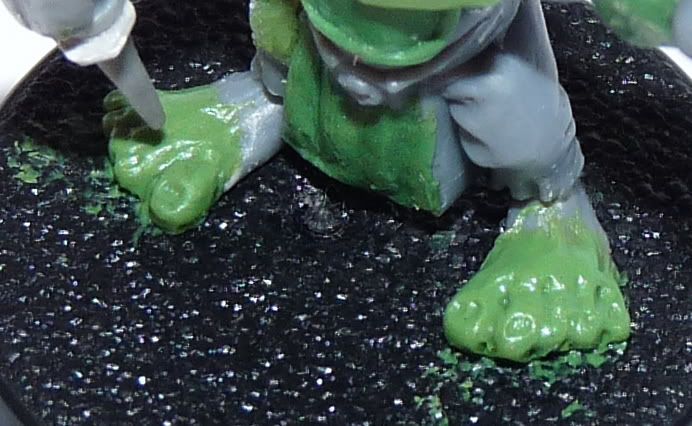
I'm putting the job on hold for 24 hours to let the greenstuff harden, and then I shall attempt to continue.
Next steps:
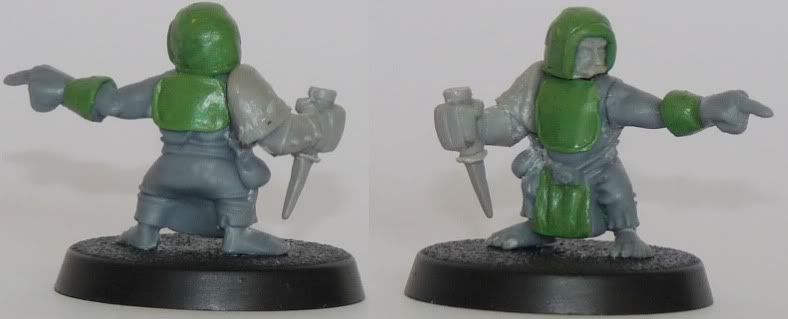
a) Fixing the top/front of the pouch (under his right arm)
b) Two small chest plates vis a vis the original Puggy
c) probably make some attempt at sculpting some feet. this will be rather iffy.
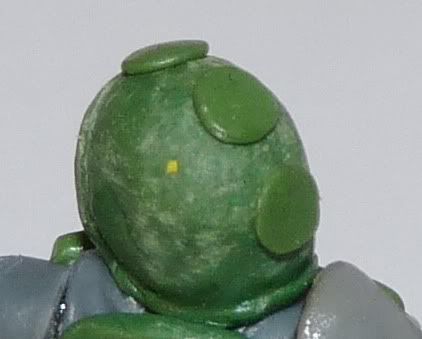
d) round off the helmet and add a bit more detail to it. maybe a horn.
Future steps (after a second hardening period)
a) two large shoulder pads
b) a large chin pad/strap
I'm trying to layer the model. e.g. The helmet will be below the shoulder pads so I did the helmet first. This seems sensible to me, although I would love some advice from more expericed greenstuffers.