Classic Dungeonbowl pitch. Moor pitch Feb 18th 2013
Posted: Wed Nov 21, 2012 4:45 pm
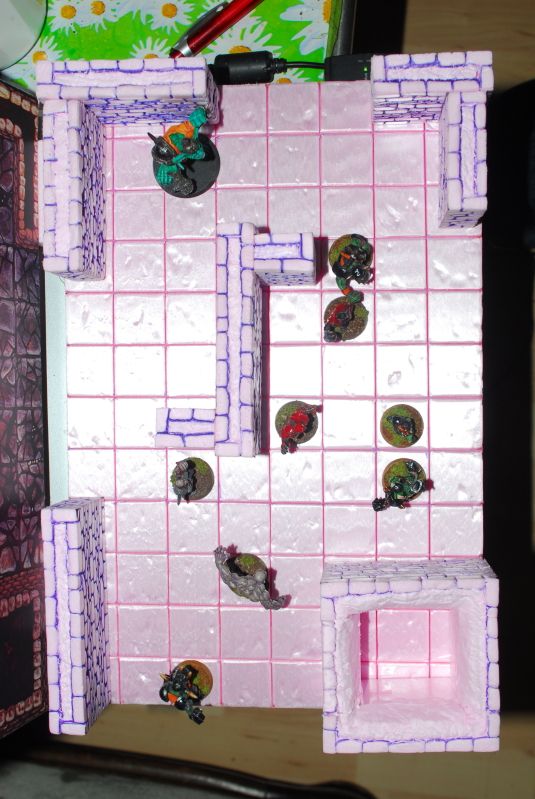
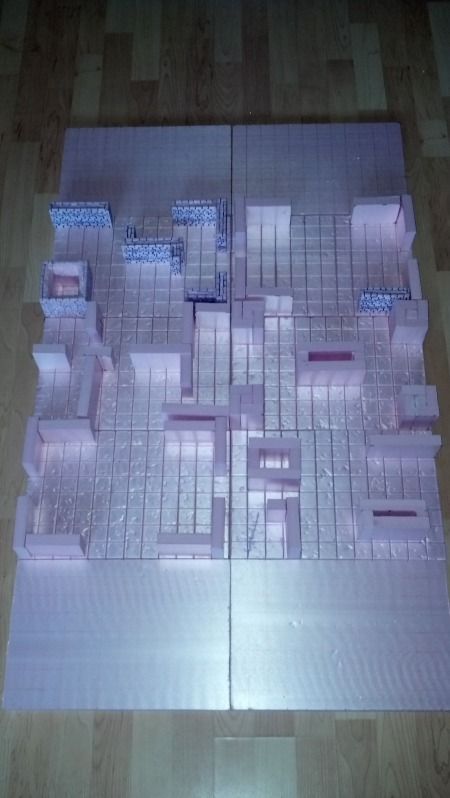
Inspired by Yggdrasils Dungeonbowl project, and having some time on my hands I decided to see how doable a quick ´n dirty 3D playfield is.
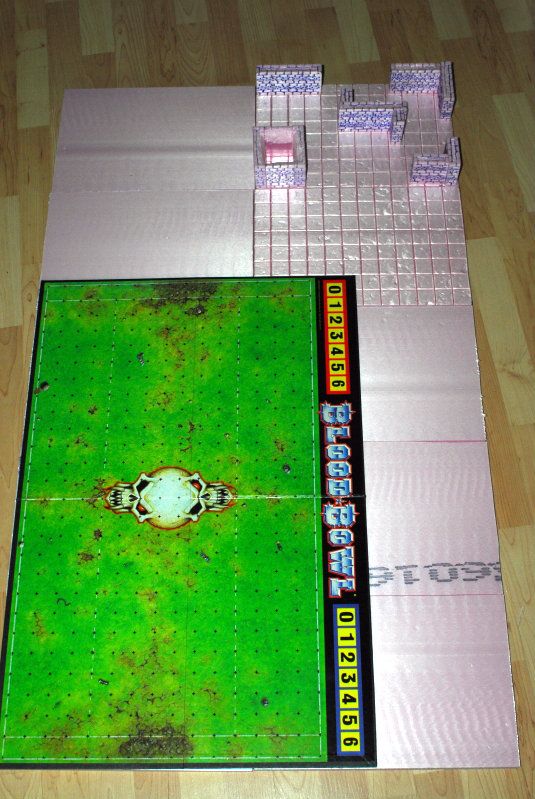
The plan was/is to make a foldable case, like the foldable bloodbowl pitches, that holds 10 game tiles. The original 8 and an additional 2 for versatility.
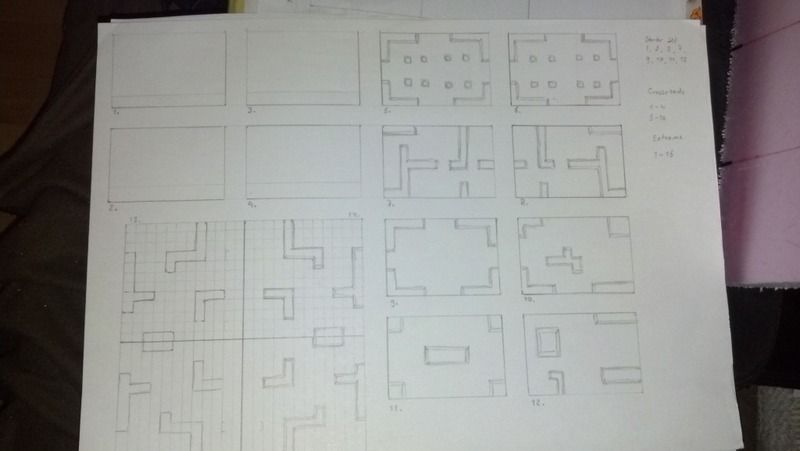
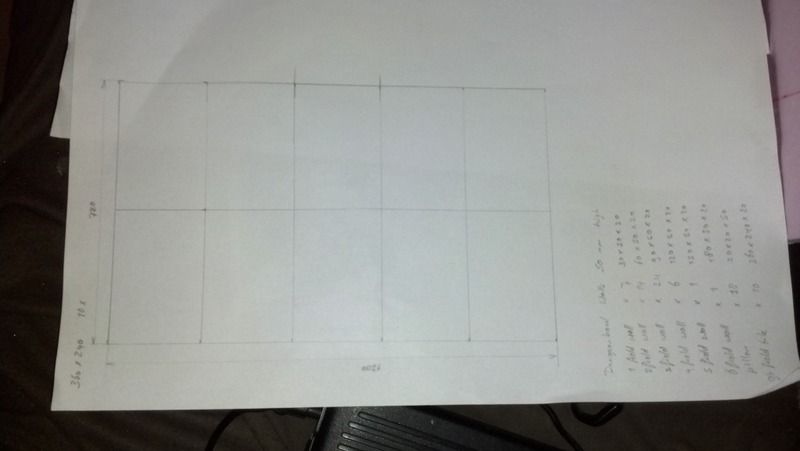
While I was at it, I also made some quick sketches for a regular fold away bloodbowl pitch and a copy of the 2nd edition space granite pitch
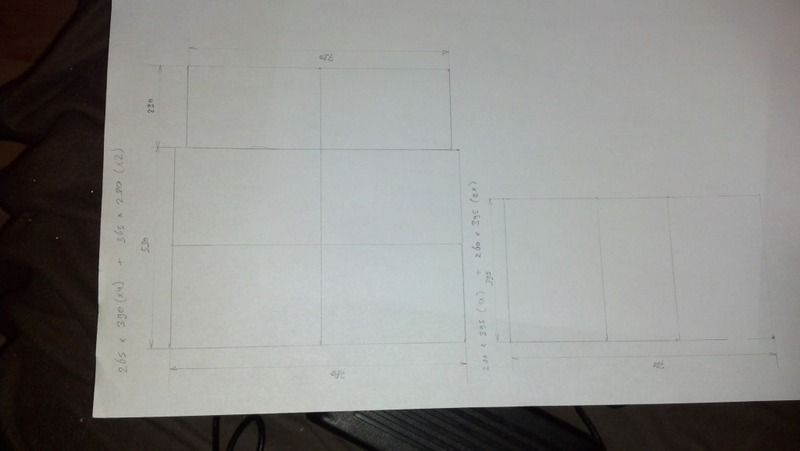
And a regular fold away Warhammer/-machine/40k gaming table
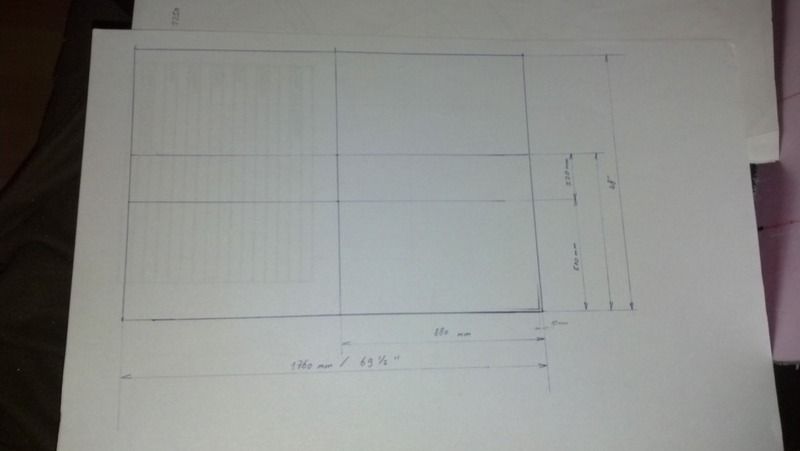
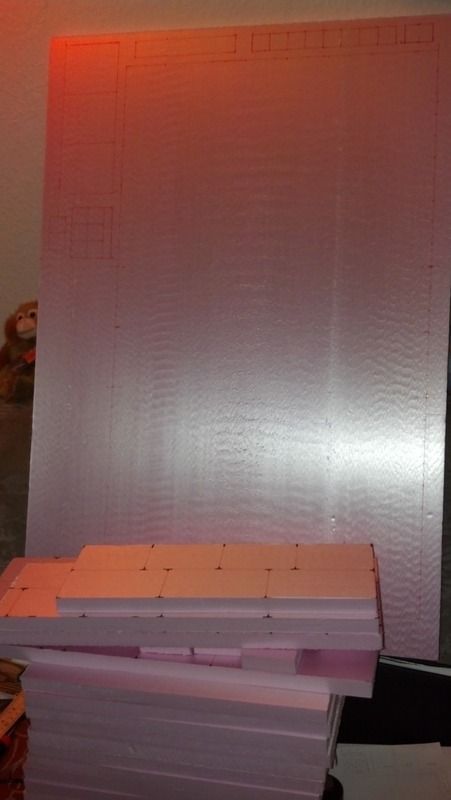
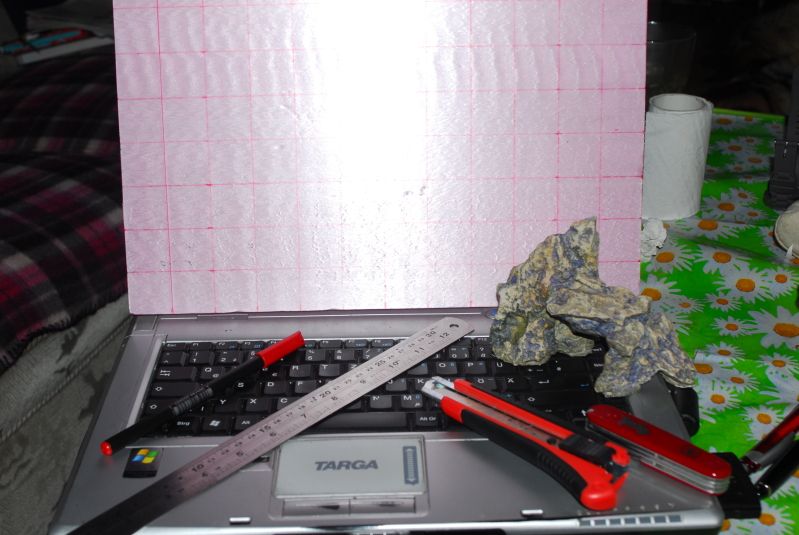
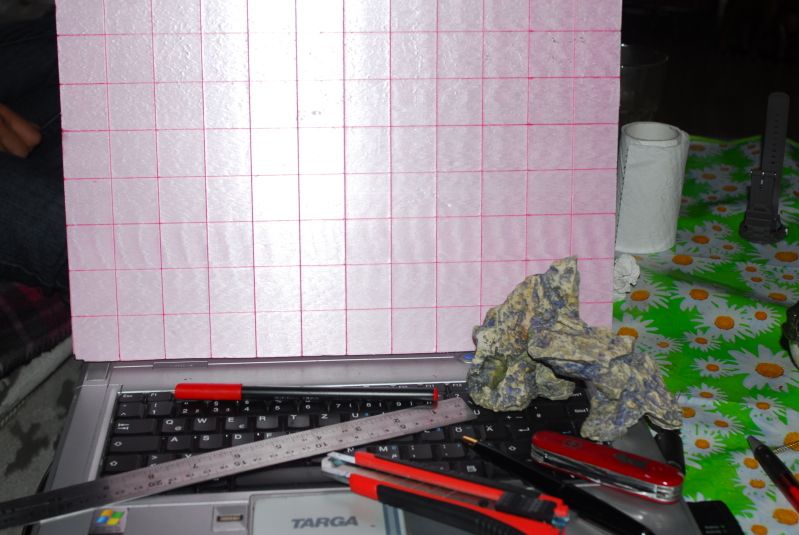
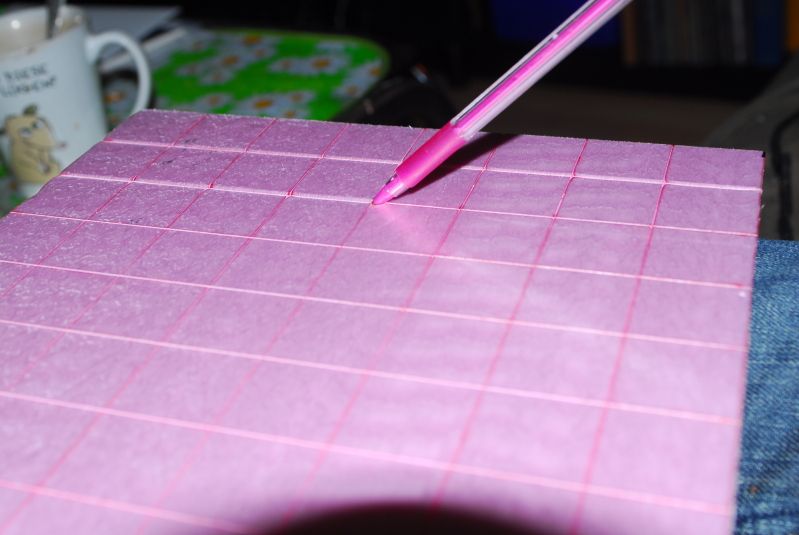
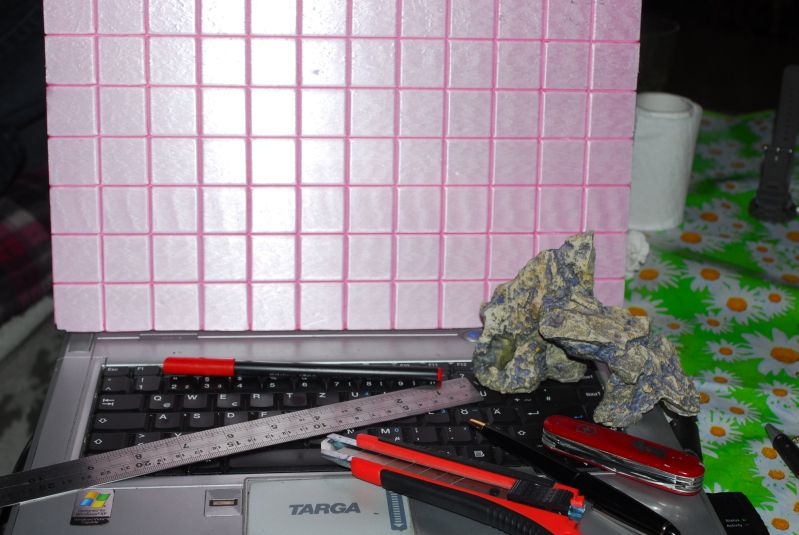
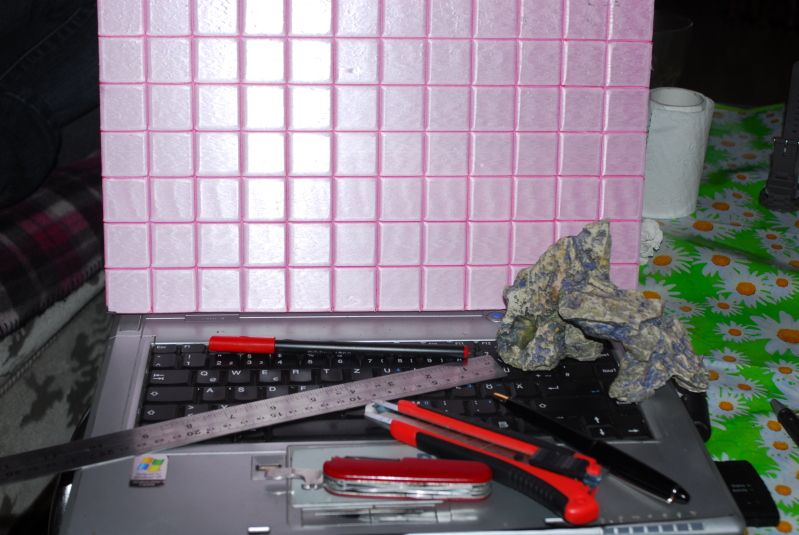
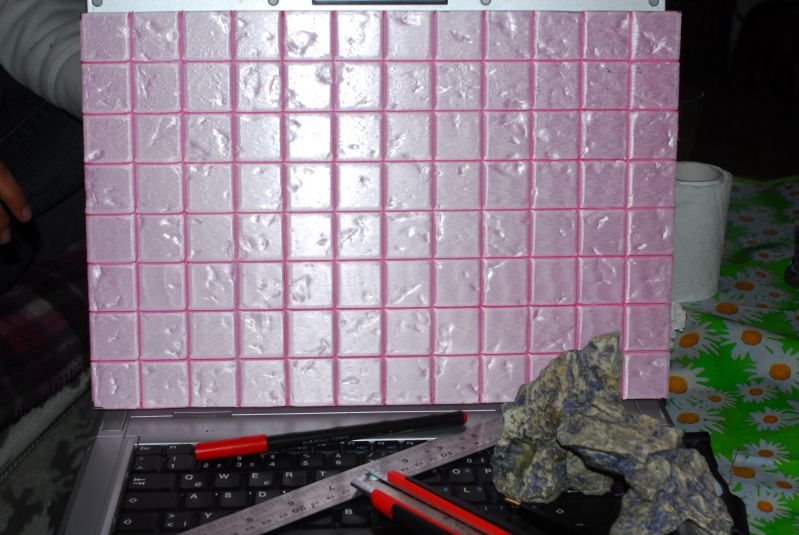
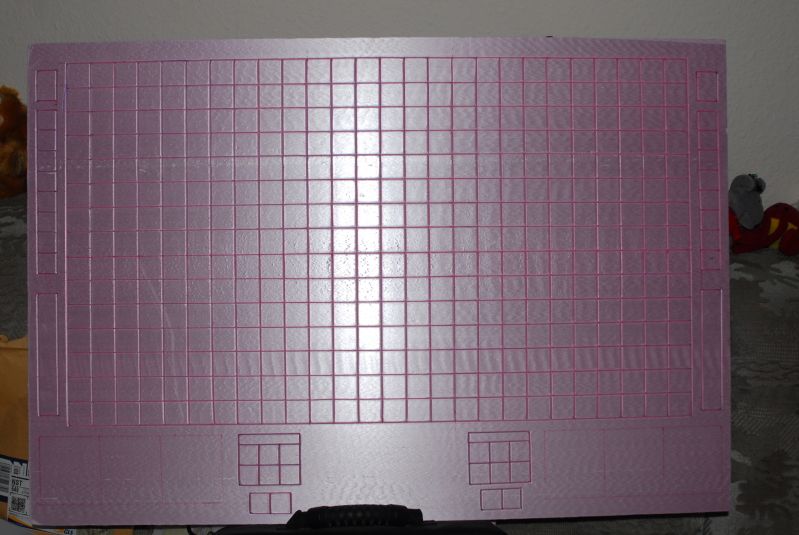
After the sketches were done and the material requirements were chalked up I started to mark the foamboard which will eventually make up the visible part of the gaming tiles
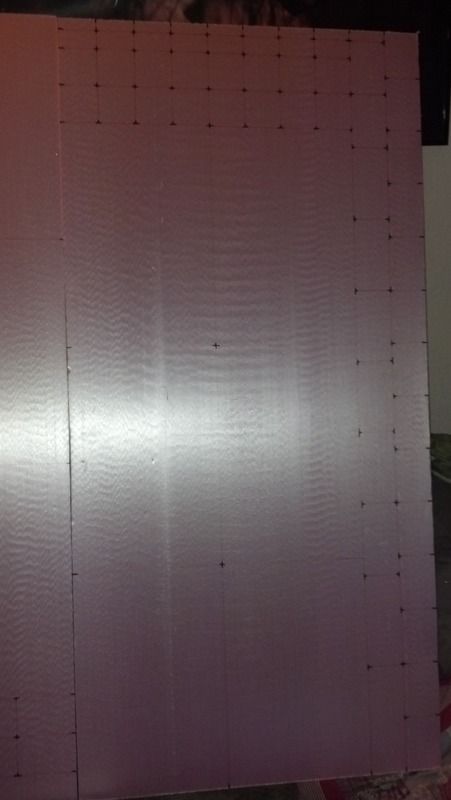
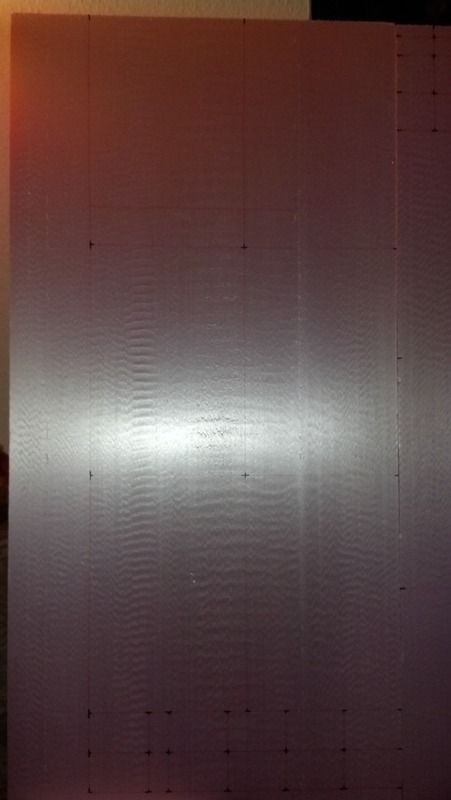
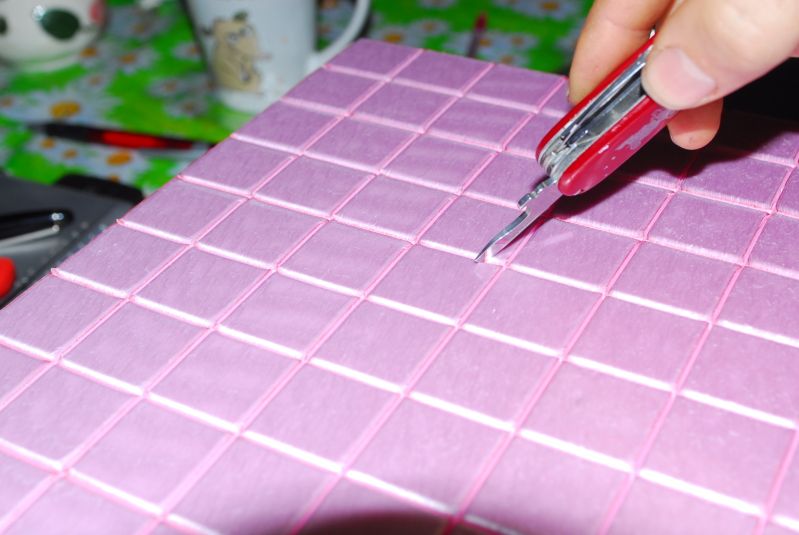
Now I need to find a way to make perfectly straight cuts through the foam, so I can start cutting up the board in smaller sections.
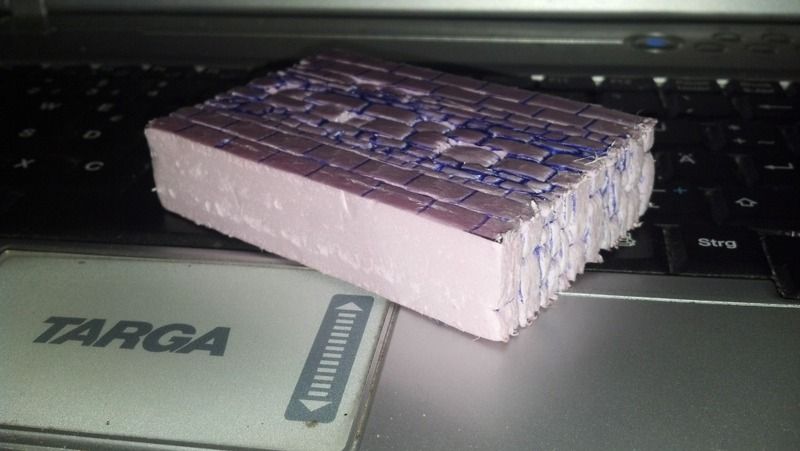
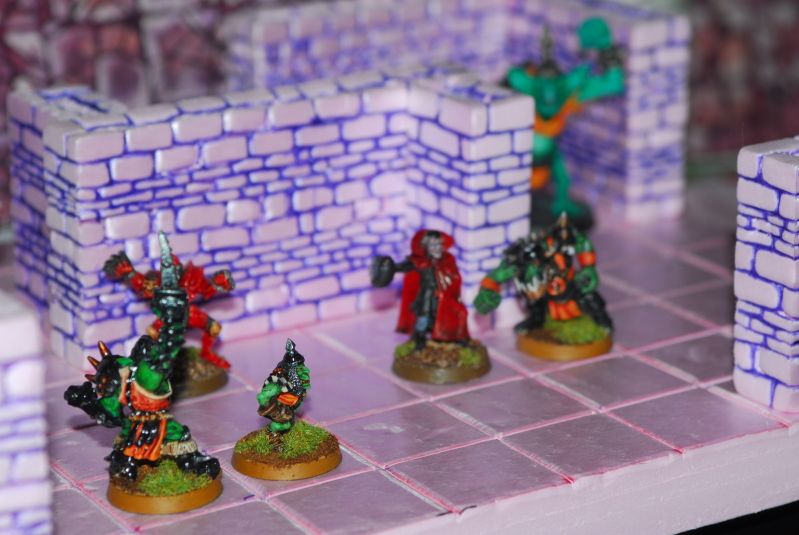
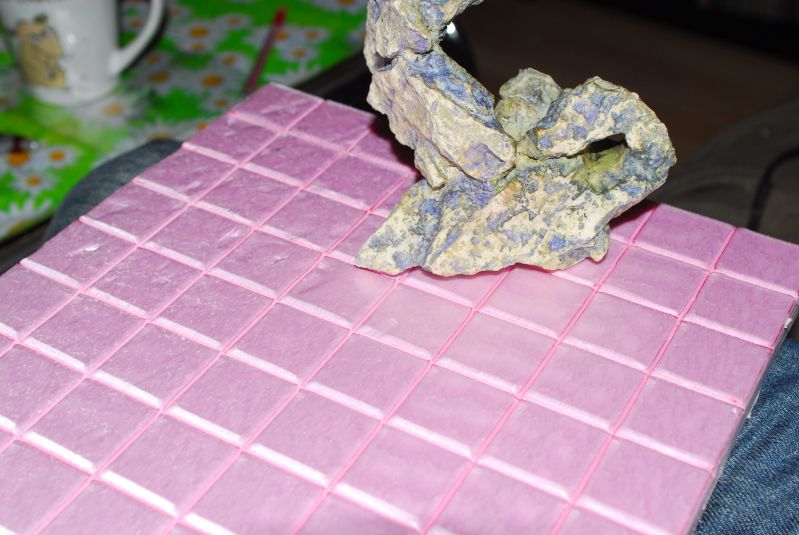
After that´s done, I can start carving the tiles and brickwall structure in to the foam.
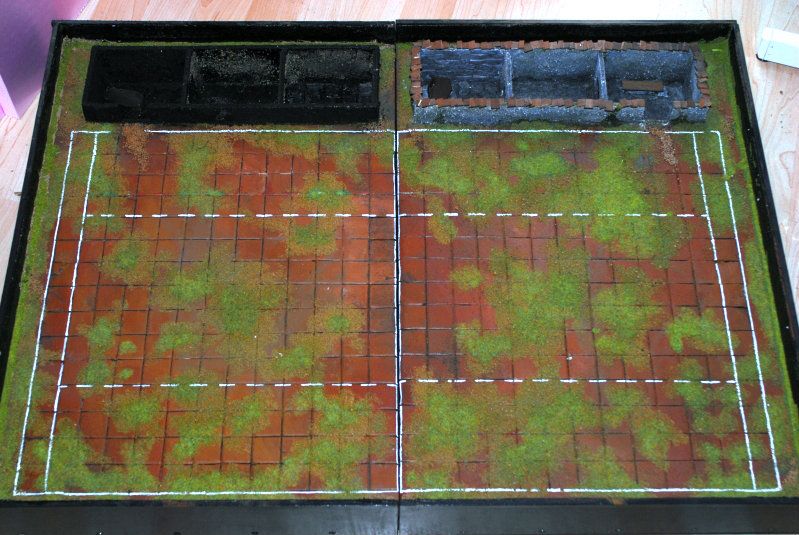
After that´s done, each tile will be glued onto a wooden base and I´ll have to figure out something to finish the edges of each tile with, to increase rigidity a bit. Dental plaster or something like it.
I did a few scenery projects in the past and every time I get to the painting bit, I abandon the project. I figured that this time around I´ll use spraypaint (granite effect sprays) and different shades of wood varnish to paint the board, then add some detail here and there and call it a day.
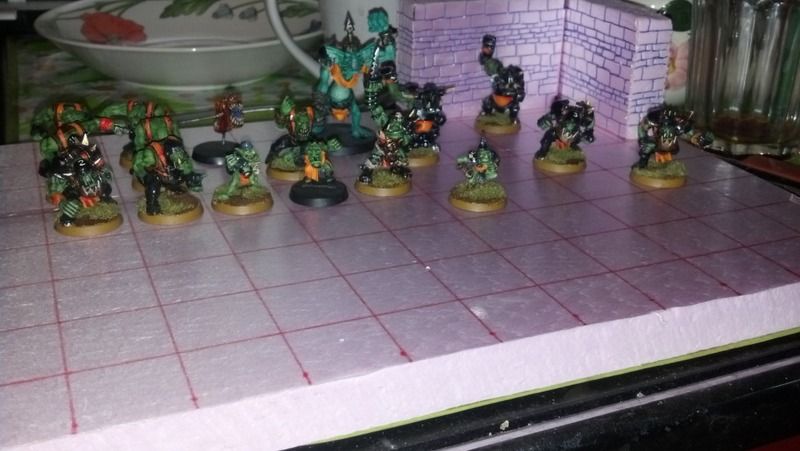
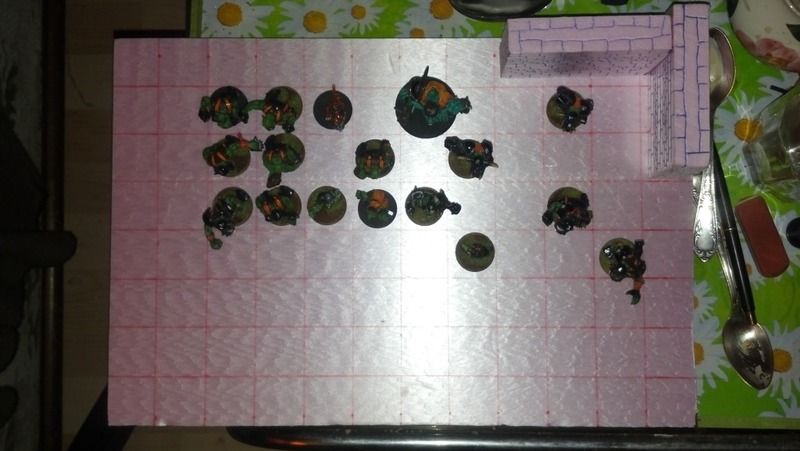
This piece will have to be sturdy. Made for gaming
The plan was/is to make a foldable case, like the foldable bloodbowl pitches, that holds 10 game tiles. The original 8 and an additional 2 for versatility.
While I was at it, I also made some quick sketches for a regular fold away bloodbowl pitch and a copy of the 2nd edition space granite pitch
And a regular fold away Warhammer/-machine/40k gaming table
After the sketches were done and the material requirements were chalked up I started to mark the foamboard which will eventually make up the visible part of the gaming tiles
Now I need to find a way to make perfectly straight cuts through the foam, so I can start cutting up the board in smaller sections.
After that´s done, I can start carving the tiles and brickwall structure in to the foam.
After that´s done, each tile will be glued onto a wooden base and I´ll have to figure out something to finish the edges of each tile with, to increase rigidity a bit. Dental plaster or something like it.
I did a few scenery projects in the past and every time I get to the painting bit, I abandon the project. I figured that this time around I´ll use spraypaint (granite effect sprays) and different shades of wood varnish to paint the board, then add some detail here and there and call it a day.
This piece will have to be sturdy. Made for gaming