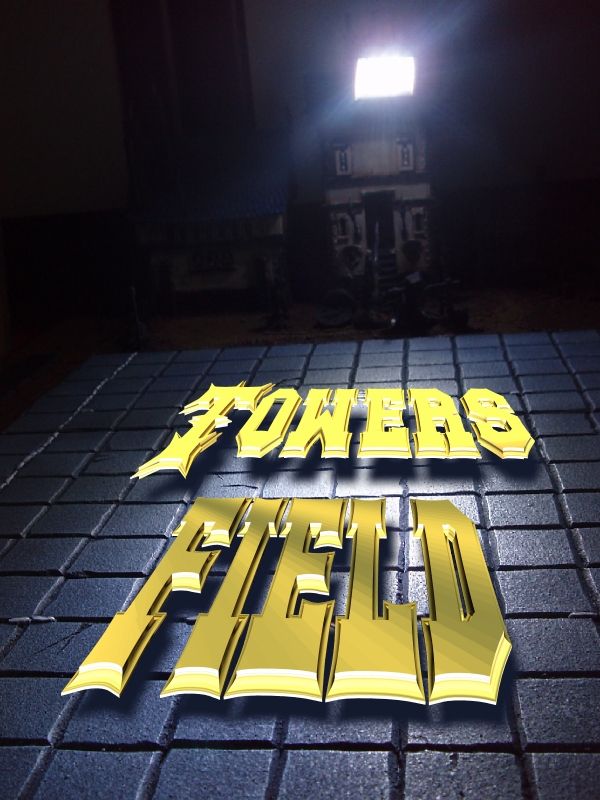
Custom Stadium - TOWERS FIELD - Almost complete!
Posted: Thu May 07, 2009 5:19 pm
Well, first things first. After playing Blood-Bowl on and off for the past 15 years, I had always had the itch to make a pitch. So just after the release of Games Workshops’ Manor and tower buildings set, it gave me enough reason to adapt it to Blood-Bowl.
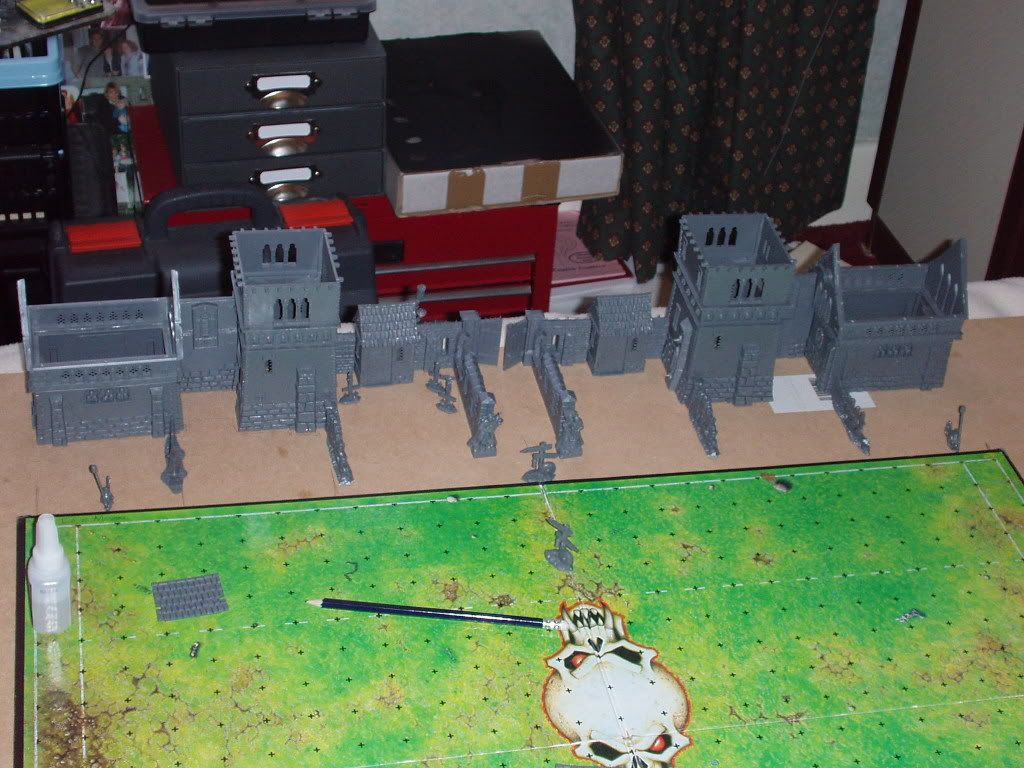
After the usual building spree of getting the main carcases of the buildings assembled and enough walls to fill in gaps, off the sprues. Trial spacing against my Blood-Bowl board, soon gave me additional ideas as to where the sections of the dugouts would be. With pen and paper I noted down the rough dimensions I would require for the actual game board, which happened to be roughly 90cm by 70cm.
Next stop was the hardware/DIY store. My shopping list included, 10mm MDF, glue, sand cork roll, a tonne of super glue, bags of grit and various other odds and ends to get it built.
With most of the construction materials collected I set about the biggest hurdle. Making the playing field. Since I didn’t want a standard grass playing surface, I decided that the good old Astrogranite was the material of choice for Towers Field! So out came the roll of 3mm cork roll. After checking and rechecking my measurements, I drew out the 29mm squares that make up the pitch.
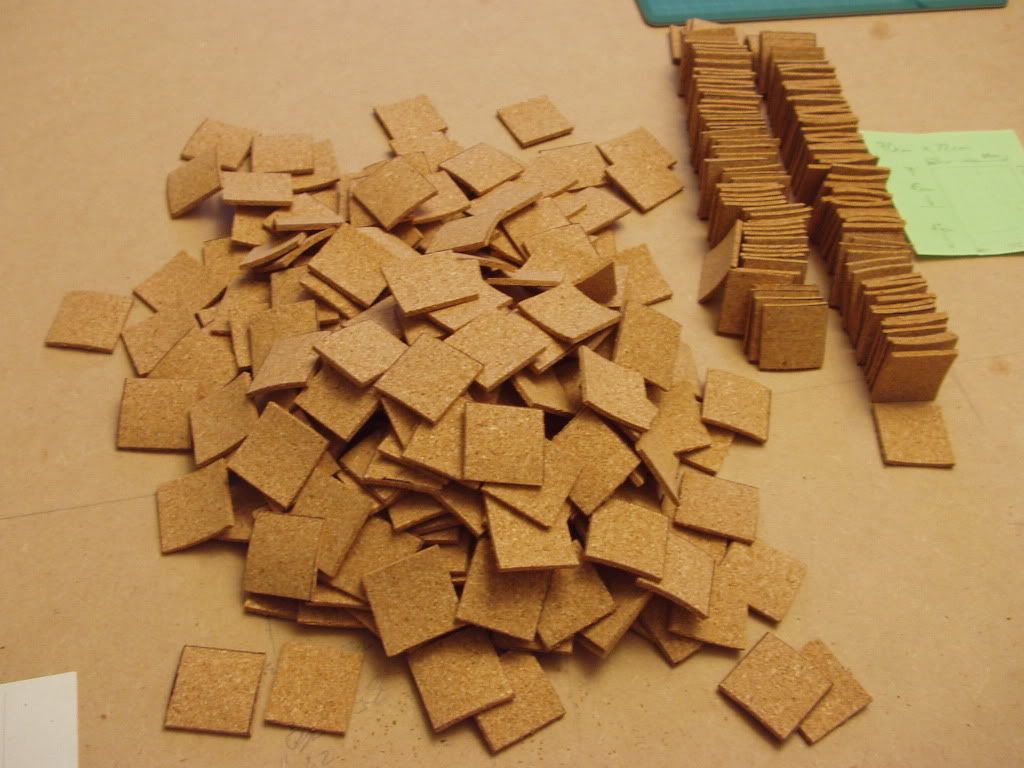
Then came the fun bit of cutting out all 400+ tiles. A note to those that are going to cut cork use good sharp scissors. It makes life a lot easier!
After cutting out all those tiles, I needed to chamfer the edges of each tile so that they would look like slabs and to define the square edges. This took about 2 hours constant cutting with a scalpel. I had to change the blade about 5 times for fresh ones, because after about 70 odd tiles the edges were starting to tear cut rather than a neat slice.
The main piece of MDF board was cut into for pieces. Each cut matching itself from the other quarters. This was so that when the were placed together they would sit neatly rather than having mismatch quarters leaving unseemly spaces from inaccurate cutting.
As you may know, you can’t split a pitch right down the middle without dividing the centre squares. So I opted to place the pitch more to one side of the main MDF board. This freed up space on one side for the dugouts and buildings and I could then also glue down the squares from the centre point where the quarters met in the middle.
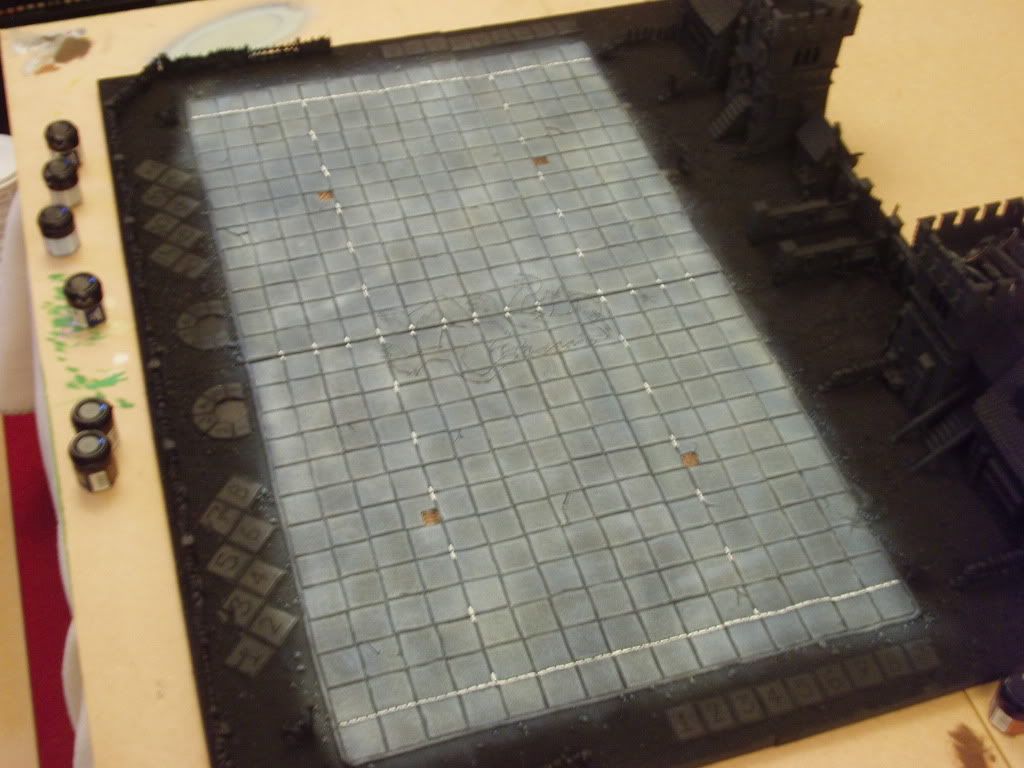
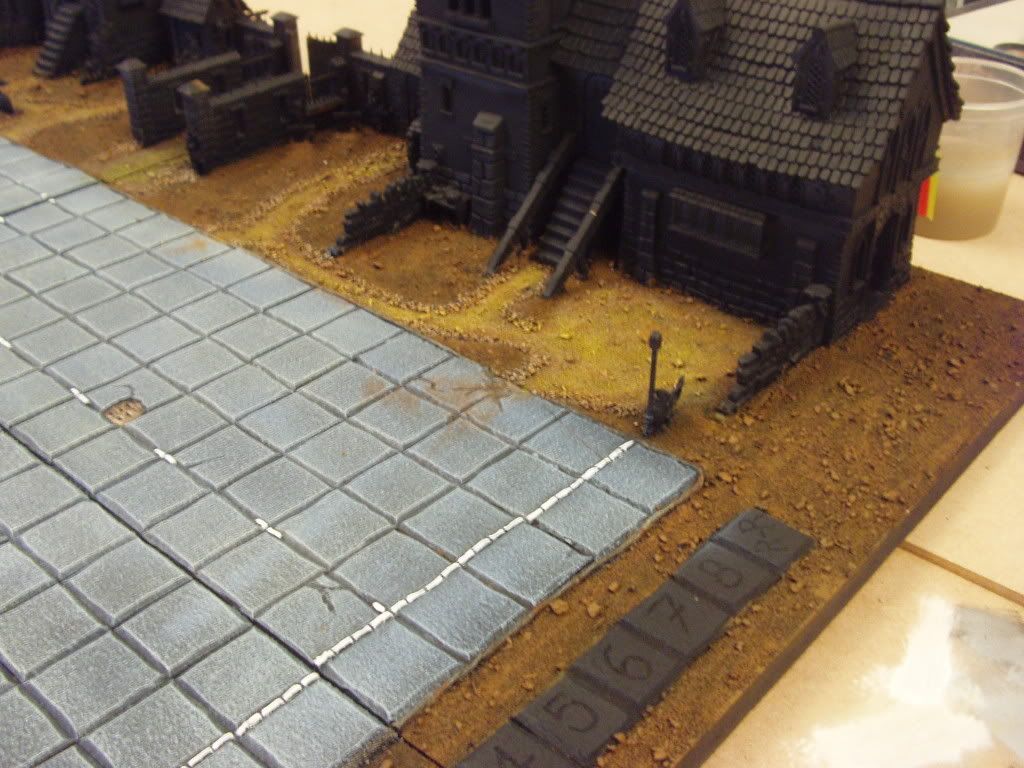
Before gluing the buildings on, I first started glueing the tiles down as an added spare spacing reference for other additional bits for later on. I started from the center join of the four boards, after working out the maximum lengths of where the tiles should end up. This outline of the pitch ensured that I would not have to create a custom throwing guide and it was the same size as the printed board. It would also allow me to keep an eye of any drifting tiles whilst I was gluing. Above you can see all the tiles glued into place as well as the buildings and far surrounding wall. I didn’t want to have too much interference with player arm movements at the far ends so I opted not to continue the walls to the dugouts. The tiles you can see in front of the far ends, where players would sit at tourni’s are the re-roll tiles. The tiles that are on the opposite side of the pitch from the dug outs are the turn marker tiles. There are only eight tiles for each half. The score counter is the semi-circular looking affairs. Each one will have a custom turning pointer to follow the score from 0 to 6, one a sickly tree the other a post with hanging sign.

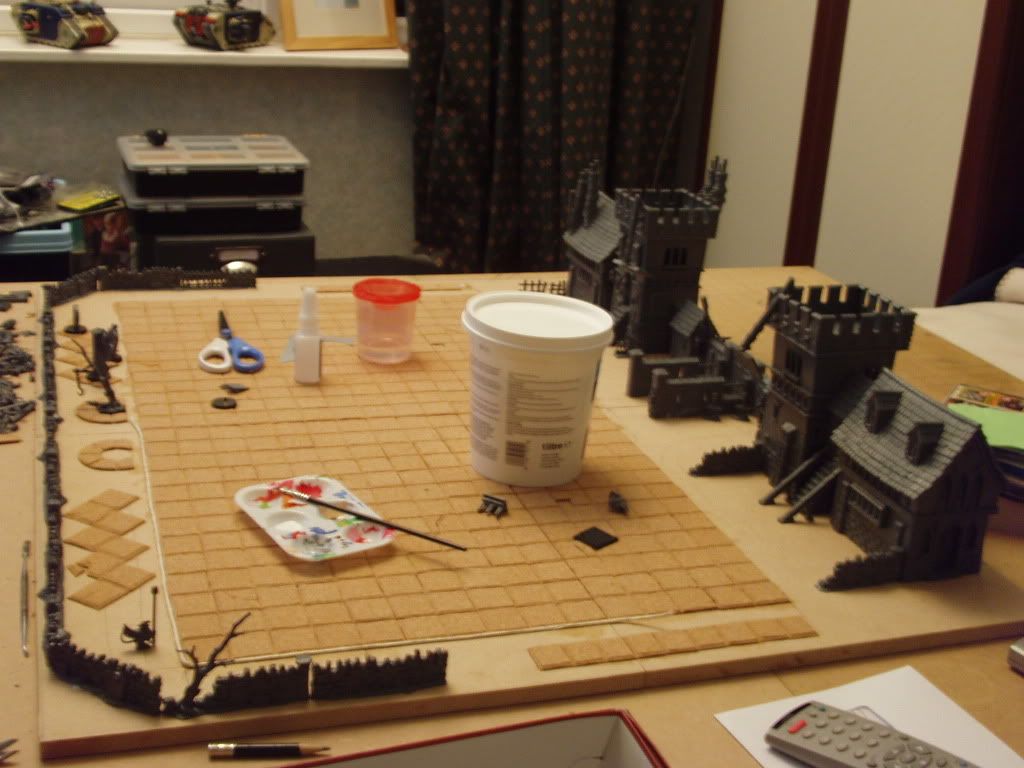
After collecting the various components from local electronics store, I set about wiring up the two flood lights! Each flood light had two pairs of 3 hi-bright LEDs. I hummed and hawed about mixing an orange or two for effect but decided against it as a bright white would be beter for illuminating the real colours of painted teams. Rather than go into an essay about electronic component wiring you can contact me about it (see TriplePOW forum or catch me about on TalkBloodbowl.com). Needless to save I needed three AA batteries in series per flood light, with on/off switch.
These would be fitted into place with additional shrouds onto the boom created from spare bits.
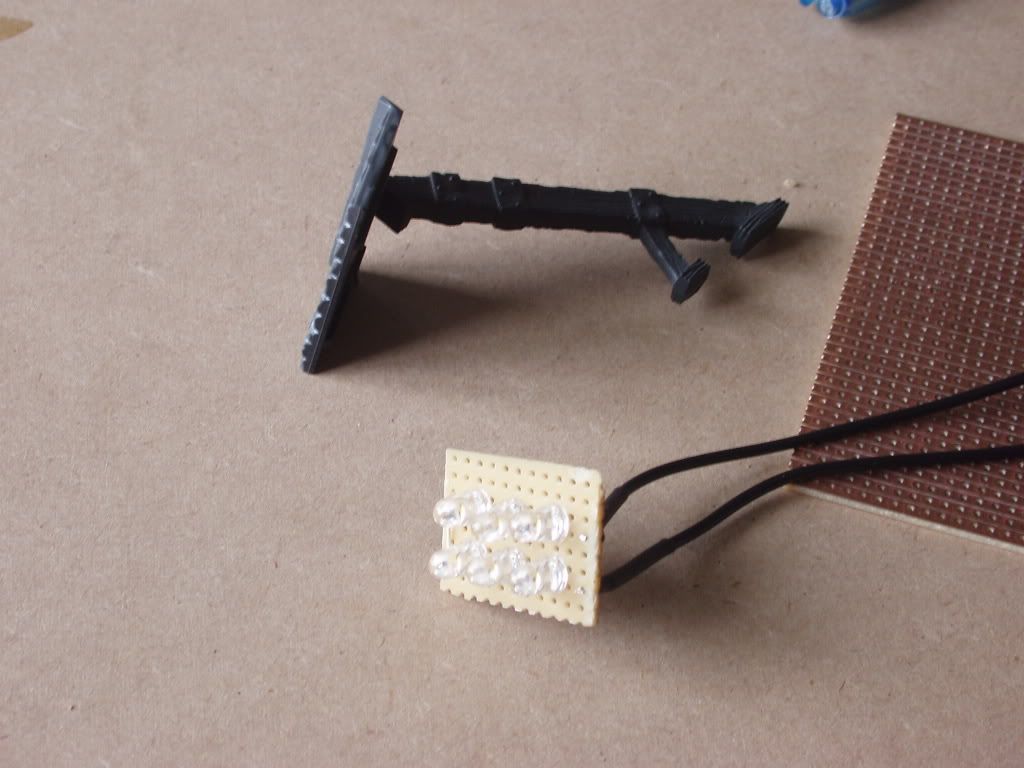
Here’s one at testing before fitting to boom. We will see this later on fitted to the removal tower tops. The wiring being fed through a hole in the roof and the battery pack left to sit inside the empty tower bases.
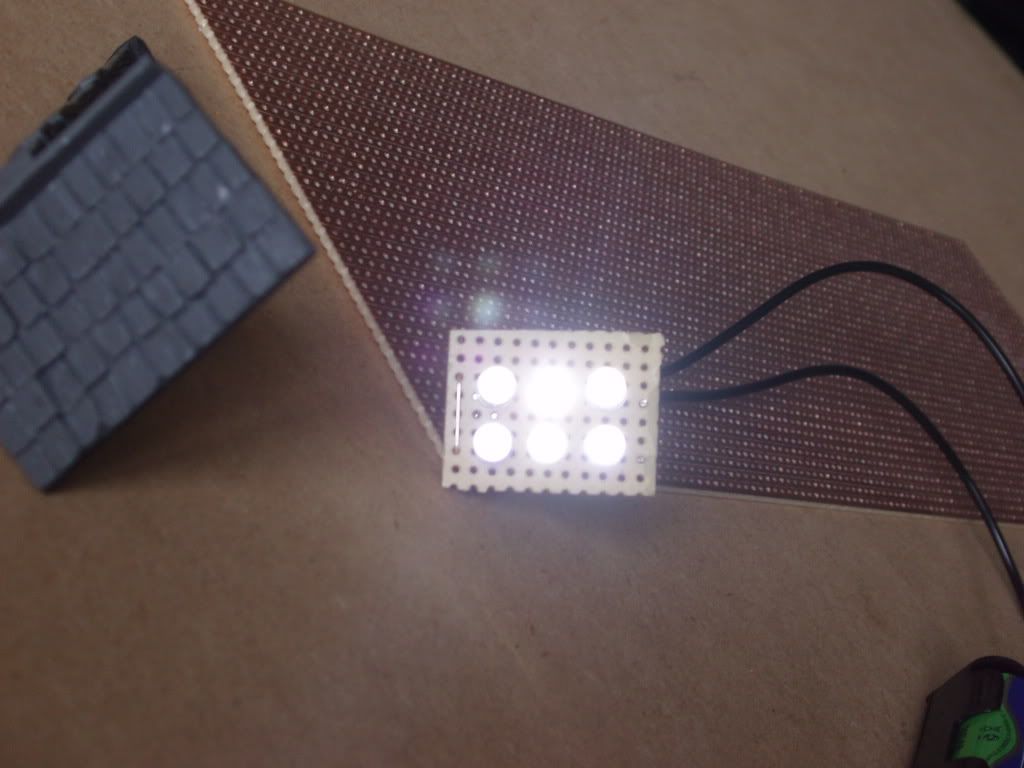
After final assembly of the board I used a couple of cans of black spray on all parts of the stadium (except floodlight tower tops). Prior to spraying the stadium I had finished of the Astrogranite pitch with green stuff cobble to mark out the lines of the pitch. So back to the painting and out came the 3 inch universal brush. I must mention that this is the biggest dry brushing area I have ever done! As a note if you are going to do this, and you mix a custom colour for the pitch, make sure you mix plenty of it. Don’t find yourself short as you may end up with a patchy pitch colouring! You will notice the line markings have already been painted in this picture. They are a mix of milliput and green-stuff. Rolled into a thin line and then worked into the tiling gaps. This idea was to keep the stone feel of the pitch by producing a cobbles affect for the lines. Although not to clear here, because it has not been painted yet, is the pitch boundary line. Due to the fact that the surrounding ground of the pitch was to be mud and grass, I thought of the boundary rope that is used to define the perimeter of a cricket pitch. Simple rough twine was white glue to the bourder and after that had dried a watered down white glue mix was cafefully painted over it. This would toughen the soft twine but retain the texture of it.
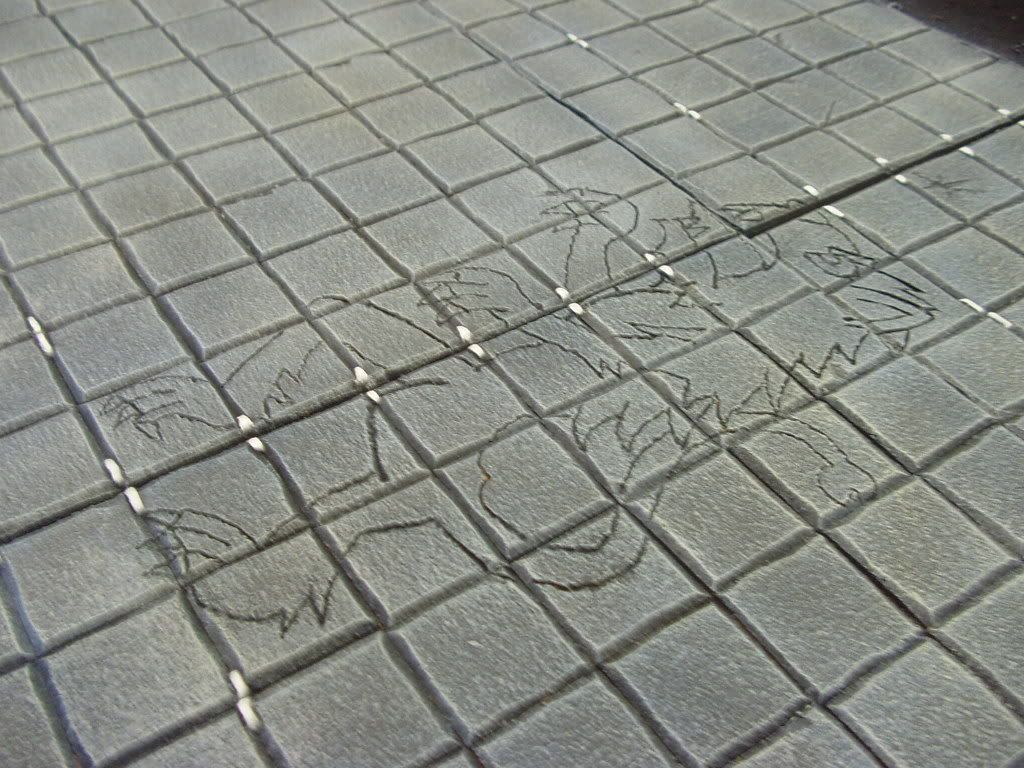
Also before spraying I pencilled on an outline of the rampant lion for the centre area and then proceeded to etch out the lines I wanted with a spiked emery drill bit and a small hobby drill. Later on the lion/tiger will be painted gold metal and weathered with various ink washes and what have you.
The next part was dry brushing the entire remaining ground before painting the main structures and surrounding walls.
If memory serves me right it was graveyard earth, with a bronzed flesh and bleached bone mix highlight.
I would do more images but the stadium is currently of the display shelves with hundreds of BB minis over it. When and if I get time I'll take a photo of the fully done thing.
Some of you have already seen it at Monkey-Bowl 2007 and Thrud-Bowl 2008.
A test lighting of the stadium whilst still being painted

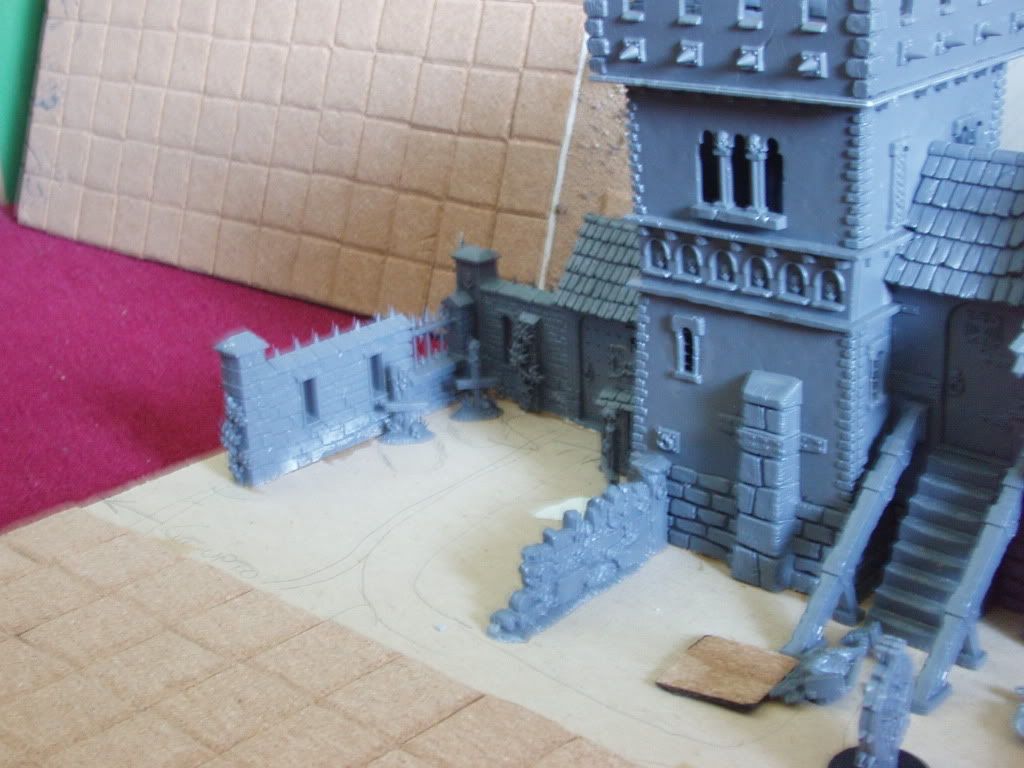
Glueing and aligning buildings whilst under construction.
Completed drybrushing of pitch.