clockwork steve wrote:
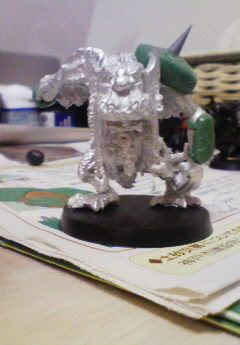
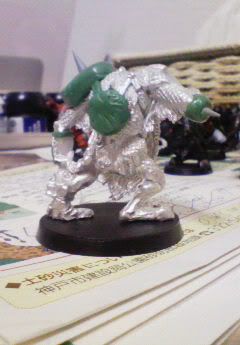
green stuff has a tendency to dry differently to look different dry than wet, it develops odd bumps and inconsistancies (at least mine does, if you know how to stop this i'd love to know).
Those were all definitely good tips, but regarding the quoted portion specifically: 1) how old is your green stuff, and 2) is it the strip kind?
On the first point: Professional sculptors I've talked to and/or read posts from on various boards all agree that, over time (usually talking about 1-2 years), green stuff loses its "freshness," so to speak. Complicating matters is that you rarely know how it's already been sitting around in a store before you get. They all recommend storing it at least in the fridge, if not the freezer, to make it last longer. This means you have to that it a bit before using, but you can cut a little chunk of each color and let it sit an hour or so (from the fridge) or overnight (freezer) and be good to go. Or if you not able to schedule your work time to thaw it in advance, just keep a little bit out and store the rest; when you've used that bit, just get a little bit more out to leave out then, and so on. Andy from Heresy actually makes it a selling point that all the green stuff he sells is stored in a freezer until it's shipped to his customers, to ensure maximum freshness.
2) If using the strip-style putty the two colors will begin to react where they meet in the middle of the strip -- this will definitely add bumps and inconsistencies if left in the mix! Anyone using a green stuff strip should cut the middle piece out, a millimeter or two on each side of the color divide, and dump that bit before mixing. This is why Kneadtite started packaging green stuff in tubes as well as strips, and why ProCreate comes with the two different portions wrapped separately within its packaging.
I now follow the method suggested to me by Matt Gubser of
Prophet Miniatures -- who's sculpted for Reaper, Magnificent Egos, Excelsior and others -- after I got to take a sculpting class with him a couple years back: I got some of the smallest-size plastic food storage containers, something like:
http://rubbermaid.com/rubbermaid/produc ... Prod280014 -- conveniently sold in two-packs!

-- and have all my blue in one and yellow in the other, stored in the back corner of the fridge. When I need some, I just scoop out a little of each color, usually the night before. Since I've started doing this, I've felt like I've had much better results.
One last general point: everyone's already said to mix less than you think you'll need, and that's very true. You'll always overestimate at the start. But keeps the amounts small, build your pieces and small layers, and if you find yourself with extra mixed greenstuff because you mixed too much, there will always be little things you can do with it in order to avoid wasting it, without putting too much on your main model if you want to avoid the pillowcase effect: roll it up into little balls that can later be used as the basic shape for little things like footballs, skulls, etc.; make some spikes to go on future pads and conversions; make bricks and such that can be used for future scenery; etc. There are other things that can be done with it as well, but those basic, generic ideas should be a start.