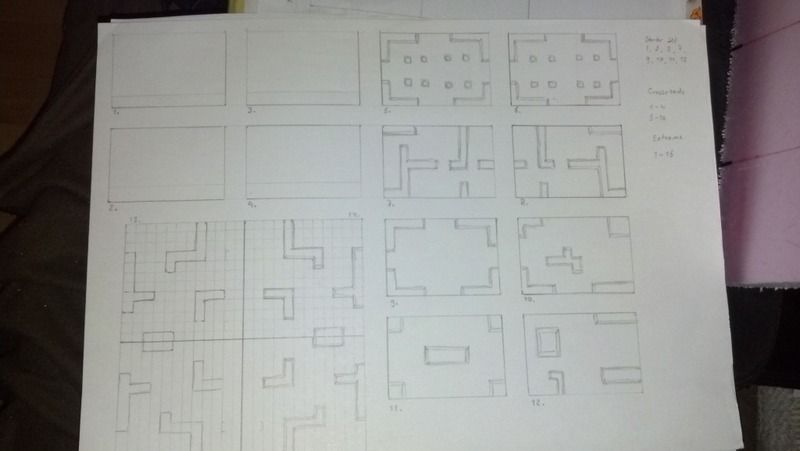
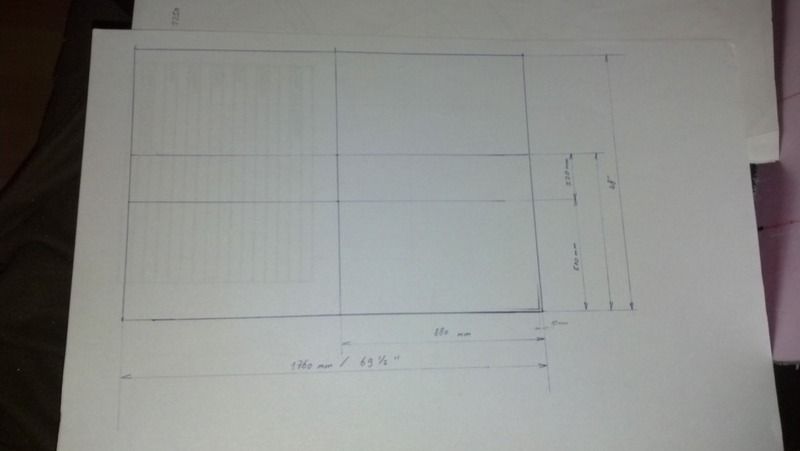
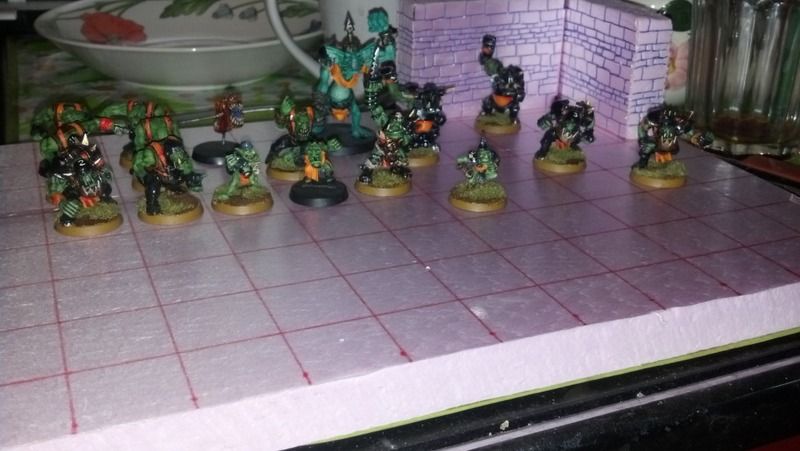
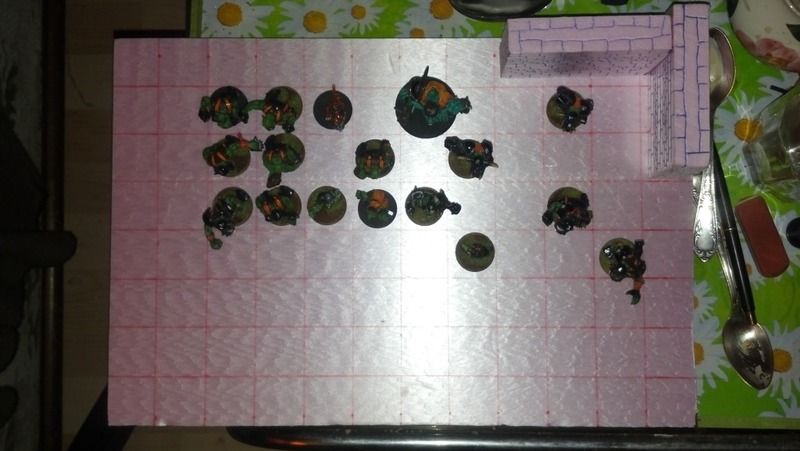
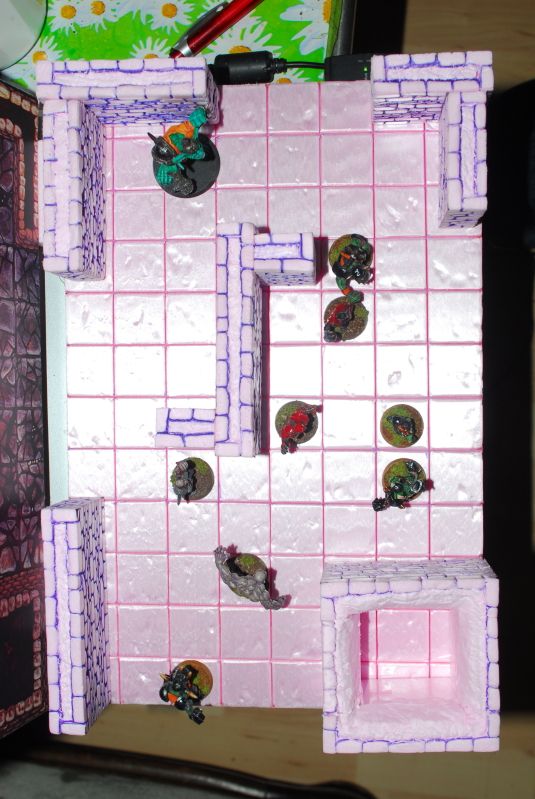
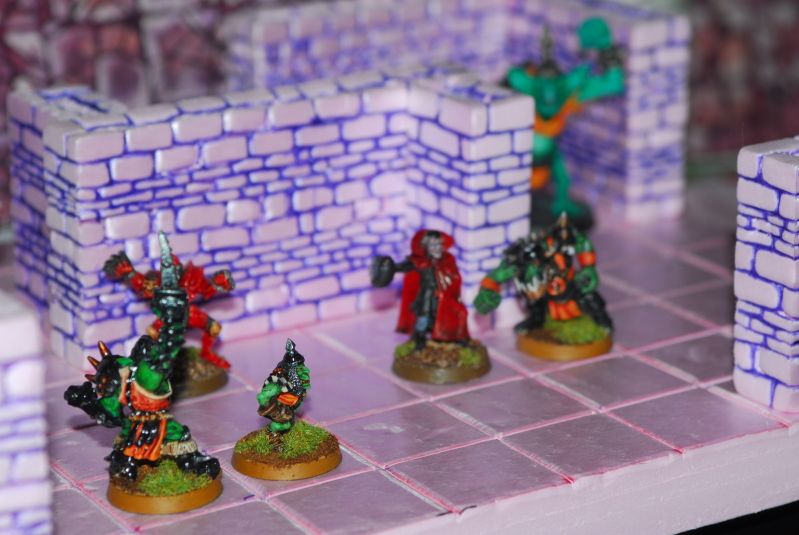
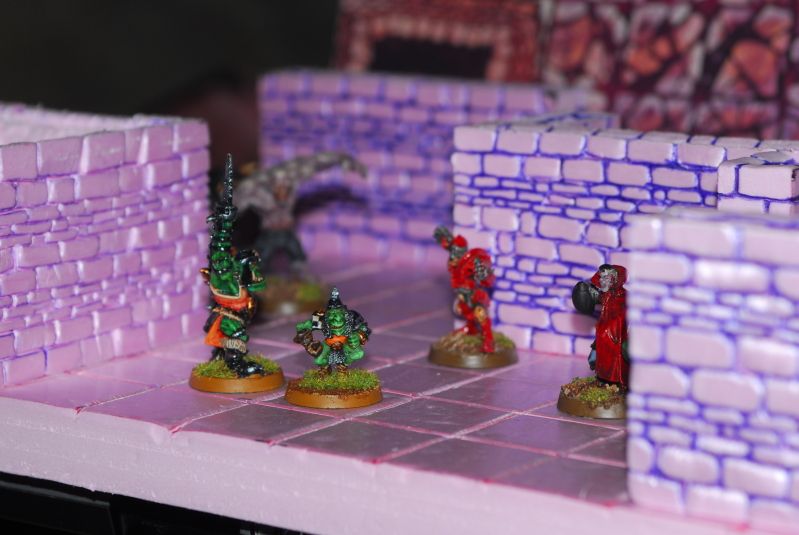
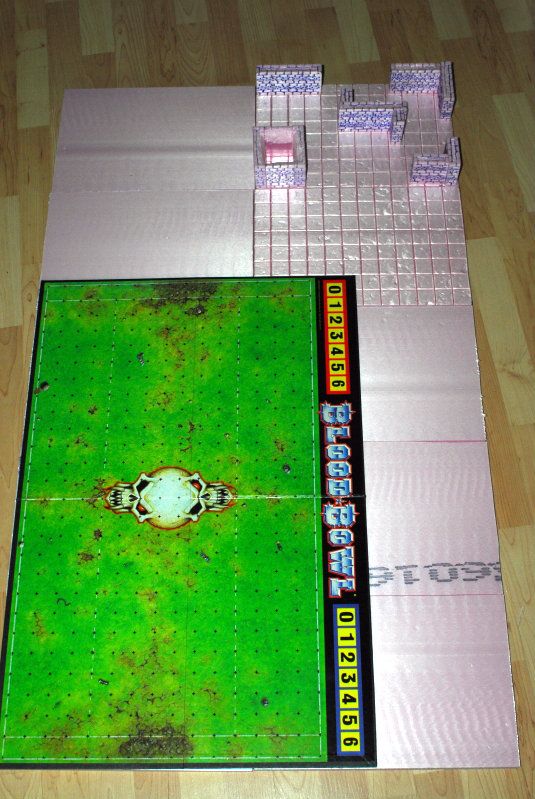
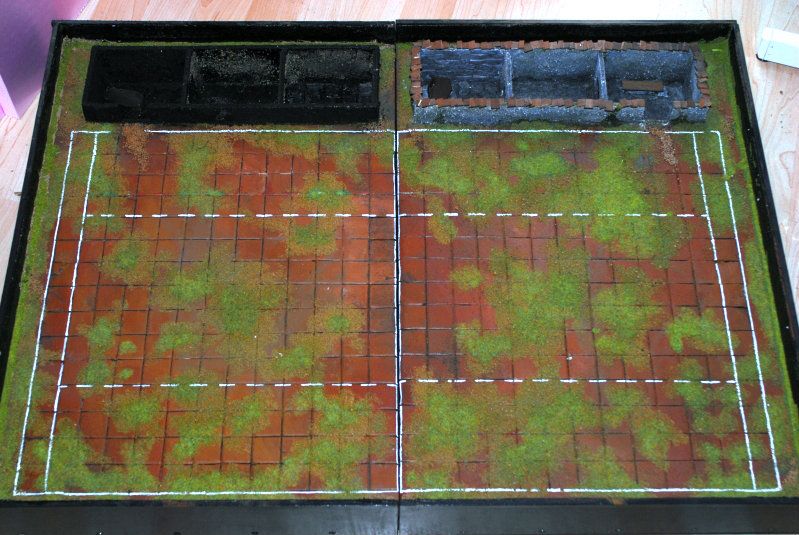
Before I can post any painted dungeon sections, here´s the layout of the 8 classic dungeonbowl tiles and 2 additional endzone tiles:
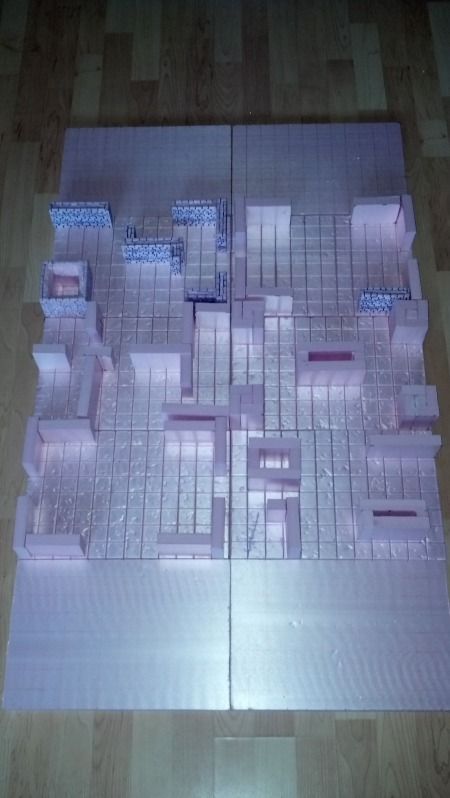
I only have a rough idea of what the transport case for this board will look like, but after doing the math I have space for 2 additional dungeon tiles and I´m considering making some additional walkways to create a 2nd level on top of the first one (just single or 2 wide walkways, straight or in L shape to keep things playable)
I will make pictures for a step-by-step guide on how to make those brick walls.
As far as the straight tiles go, they are not entirely straight. Patience, a metal ruler and a very sharp xacto knife all help. A steady hand, some good music and a cup of strong coffee also add in. I think however that the most important bit is to have some spare styrodur available in case you need to redo a tile because the cut wasn´t straight enough.
I quickly made a step-by-step on the tiles.
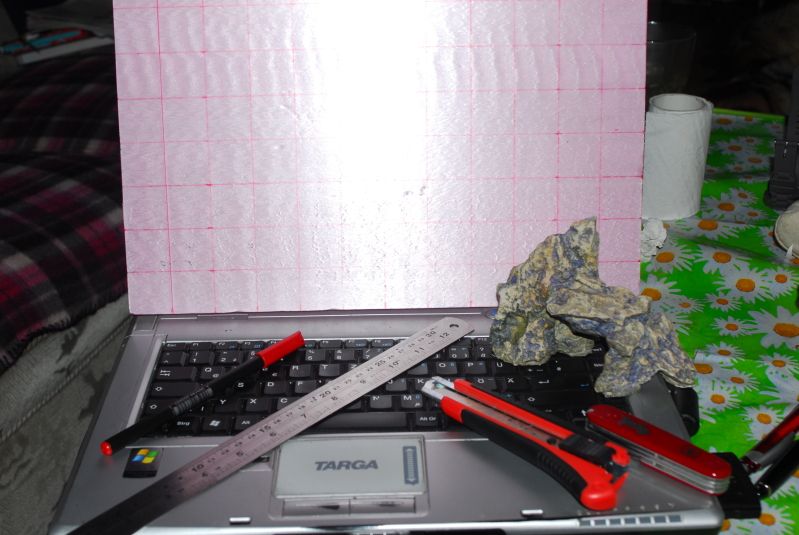
Tools of the trade:
-xacto knife with a few new blades
-large amounts of styrofoam sheet (as much as you think you´ll need for the project, plus a little extra)
-marker
-ballpoint
-a wide screwdriver with rounded edges
-metal ruler
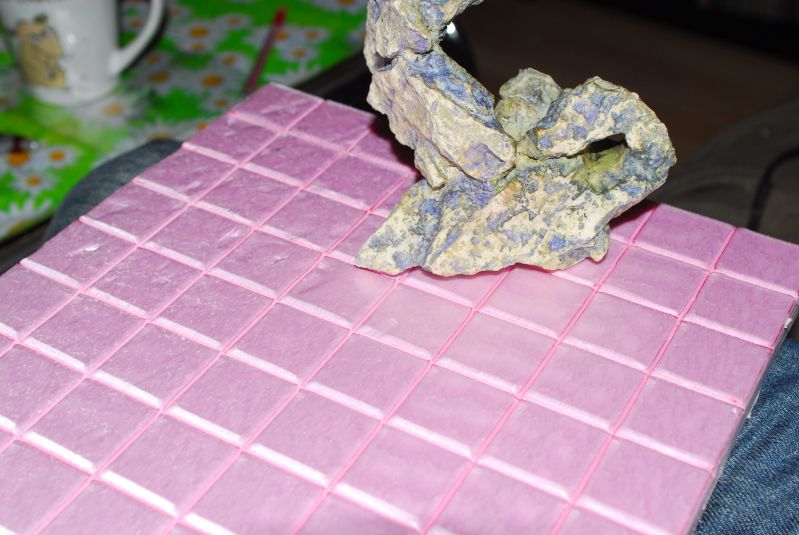
-a nicely structured piece of stone
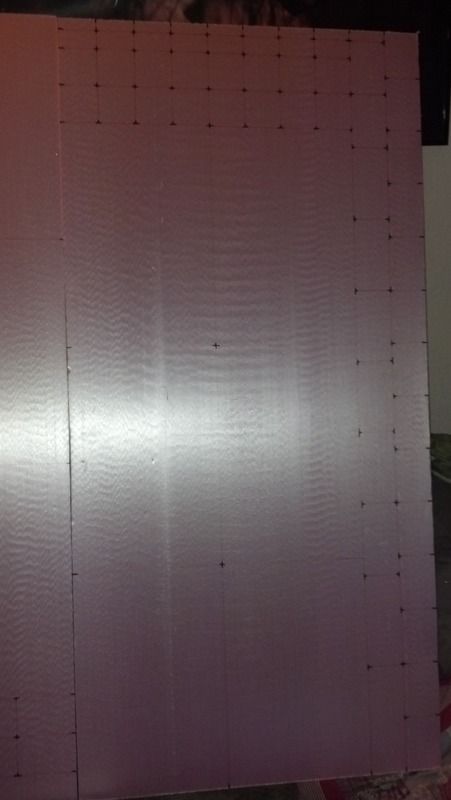
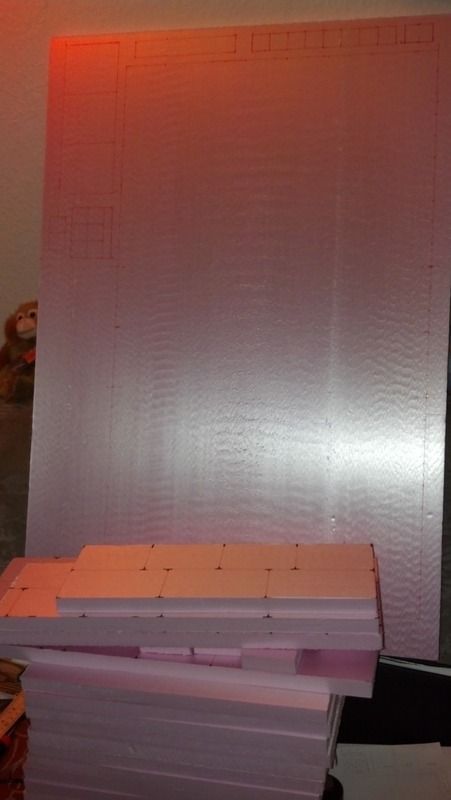
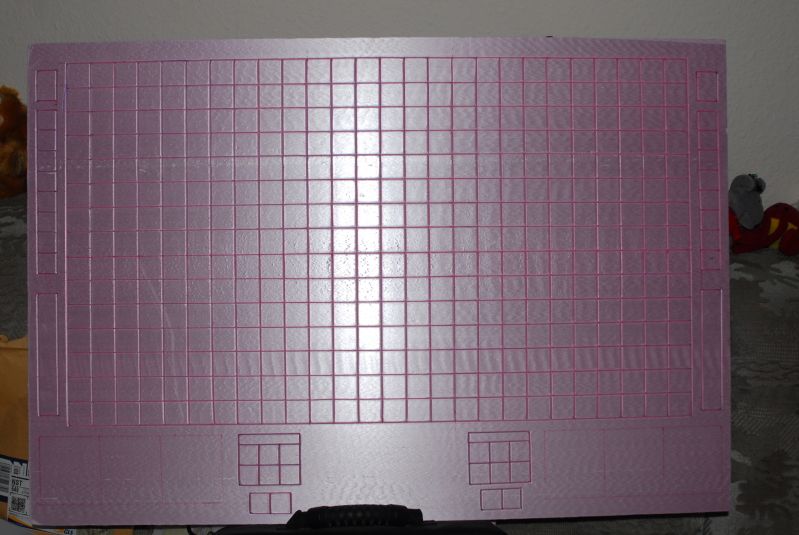
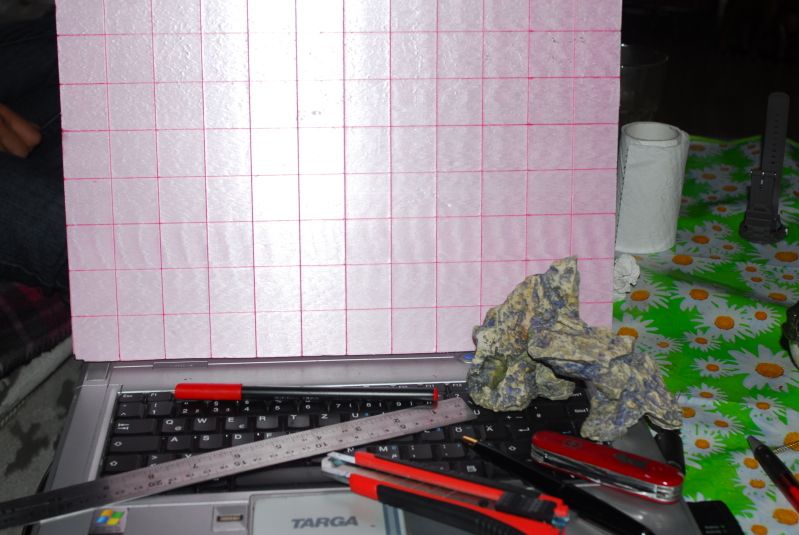
Step 1, cut the game board tile out of the styrofoam sheet.
things to pay attention to:
-use a sharp knife. If in doubt, exchange the blade for a new one.
-use a metal ruler
-don´t cut too deep. I cut a 20mm sheet in 3 incisions, each following the previous one (metal ruler

)
-make sure to keep the handle of the knife as straight as possible and use little pressure
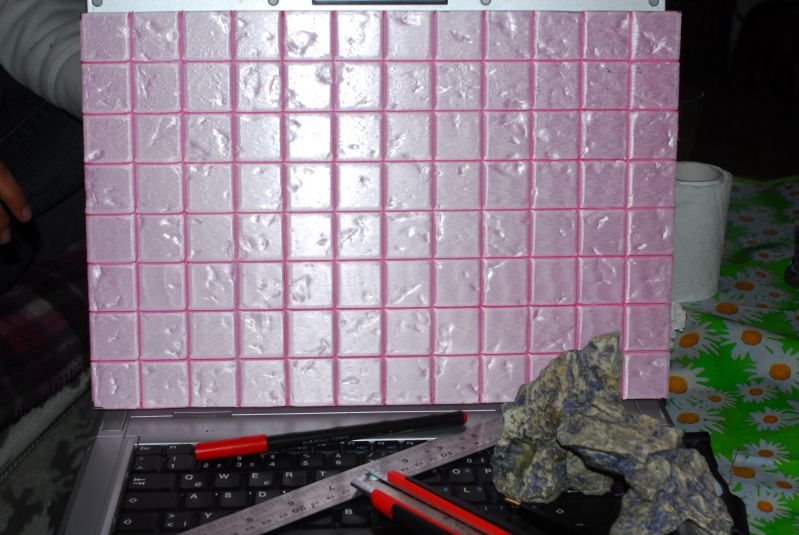
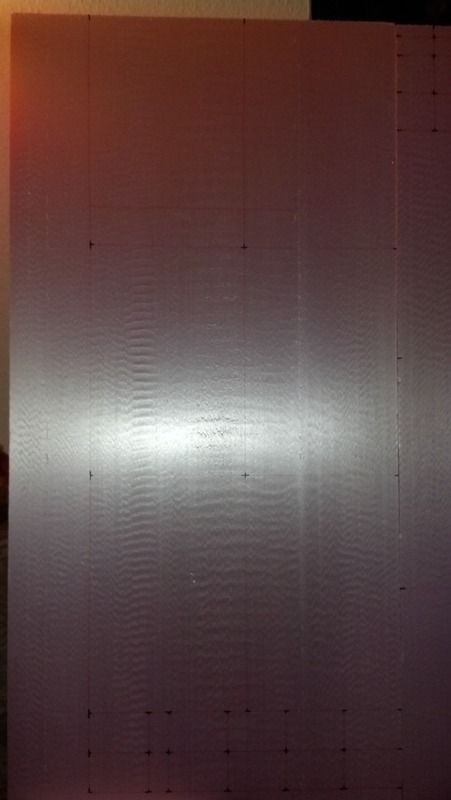
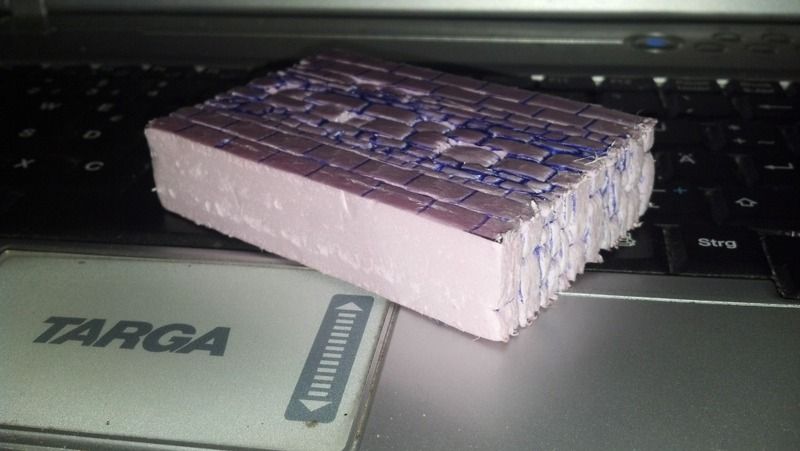
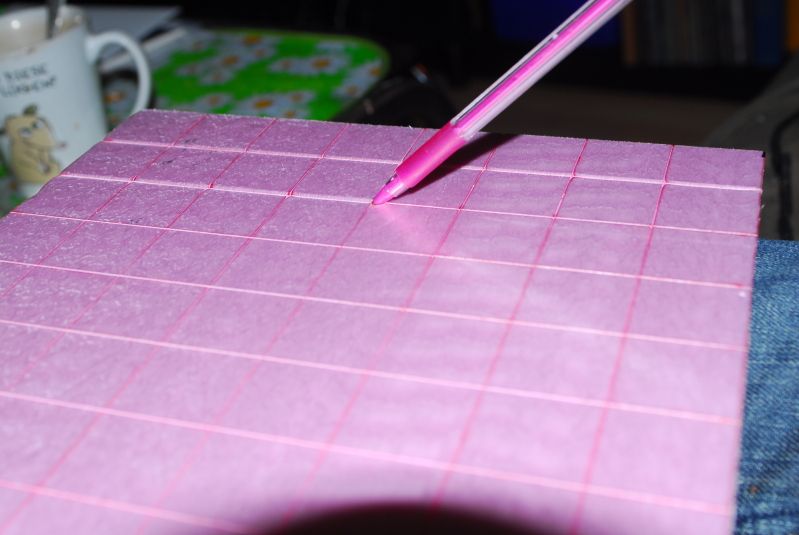
Step 2, make markings for the floor tiles (30x30mm)
Step 3, score the marked floor tiles with the xacto knife (about 1/4"/5mm deep)
Step 4, this is why you need a ballpoint apart from having a marker around. Follow the floor tile outlines with the ballpoint to create the first bit of relief. I scored the tiles twice with the ballpoint for added width.
I wasn´t satisfied with the result, so I went to step 5, which really is optional.
Step 5, I wanted my tiles to have really wide grooves between them. I repeated the step with the ballpoint, now with a screwdriver. If the screwdriver has sharp edges, you´ll ruin the board though. You could use any 90° angled piece of metal or plastic for this job, or a really wide pointed ballpoint.
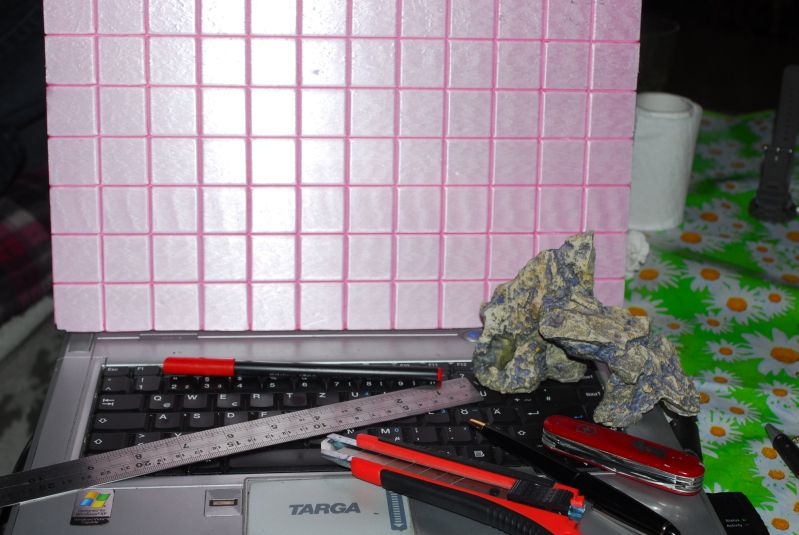
The result looked better after step 5 though
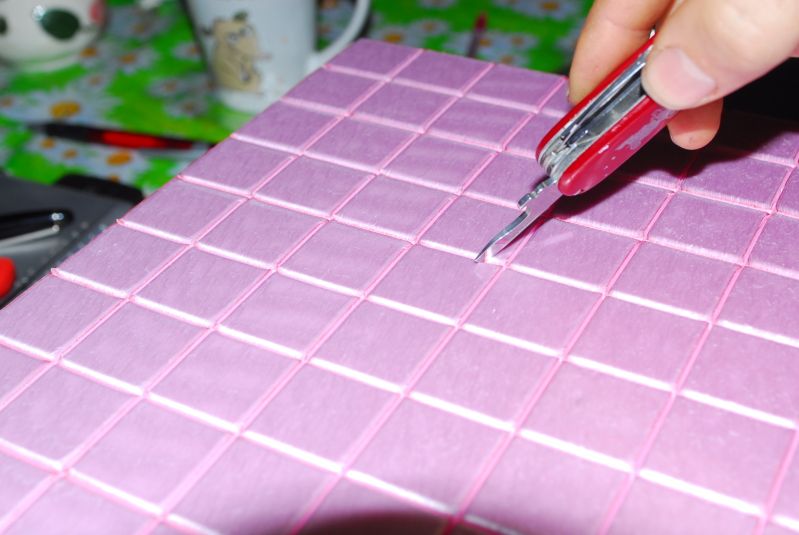
Step 6, I wanted the tiles to have some irregularities, indentations and some wear and tear like your average old dungeon has. This is where you need the brick. I used a deco rock from a fishtank (my fishtanks all contain real stone. This was a relic of times long gone)
You´ll have to experiment a bit with materials and with how much pressure you need to apply. I used this piece because I had it at hand and the results are quite what I wanted for. Press the brick to the styrofoam at various odd angles to get different kinds of indentations. Turn it, use different sides, just be creative and persistent until you have the desired result.
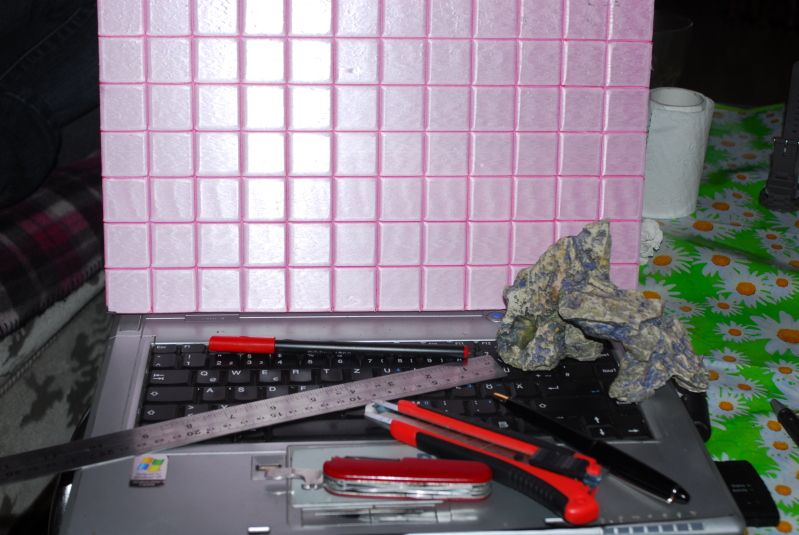
And there it is, one game board tile ready for base coat and paint: