

knocked up a quick reference of the "Pug method" for doing chains.
This is a how to of principles, not the be-all and end-all of how to! Your own varied degrees of precision and hand eye awarness will define how well you chains will finally come out.
What you will need;

Pick tool,
Standard GW modeling tool,
Green Stuff,
Craft Knife,
(Optional) Clay/wax tool - rounded point.
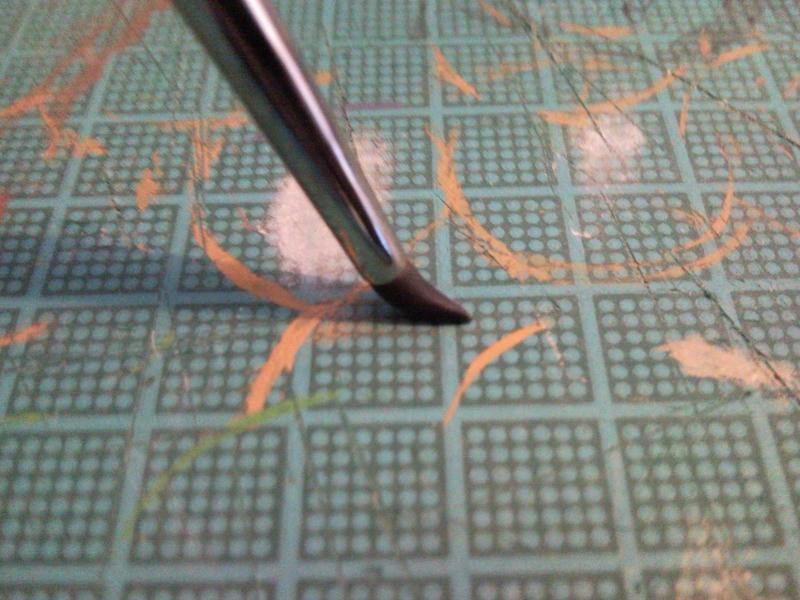
As you can see, for those that have never seen the clay/wax tools the tips are basically rubber shapes on brush sticks.
Step 1
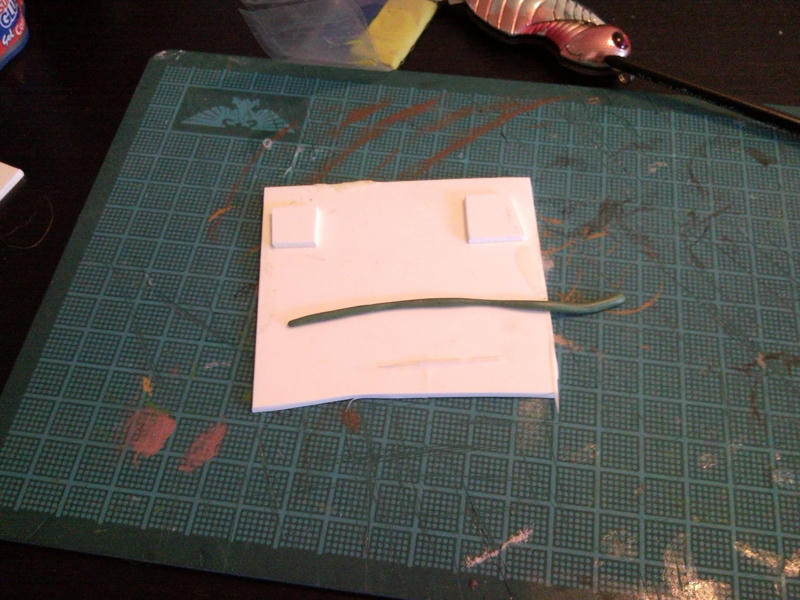
Roll out a thin sausage of green stuff. The thickness of this will determine
the rough width of the chain links. The final width is roughly, the width of
the roll of GS + 1/4.
For this demonstration I am doing larger links in the chain for photo graphic purposes. They will be about 3-4mm across each link.
Step 2
Laying one end of the GS roll at the start point, slightly press the GS to the surface and flatten the top surface slighty. This is where the roll width + 1/4 comes into it!
Step 3
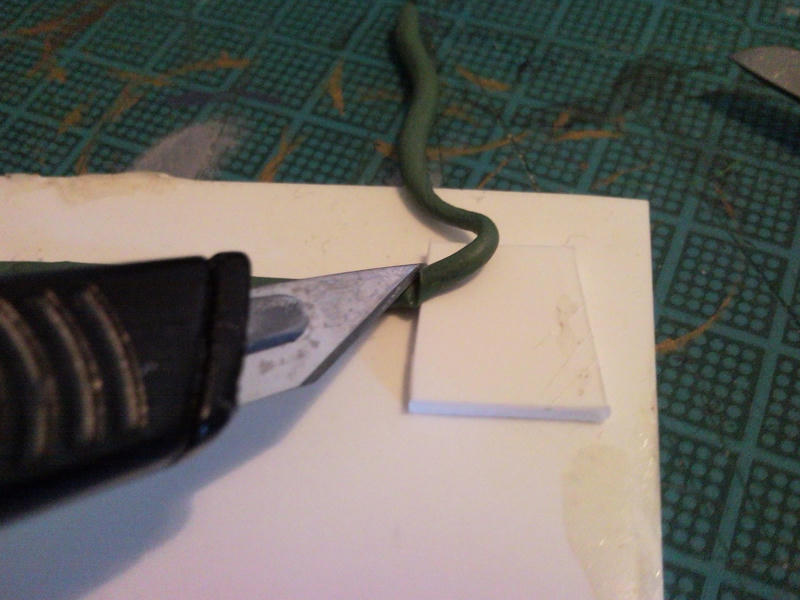
Once you get to the end of the length of chain you need , cut off the excess with the knife.
Step 4
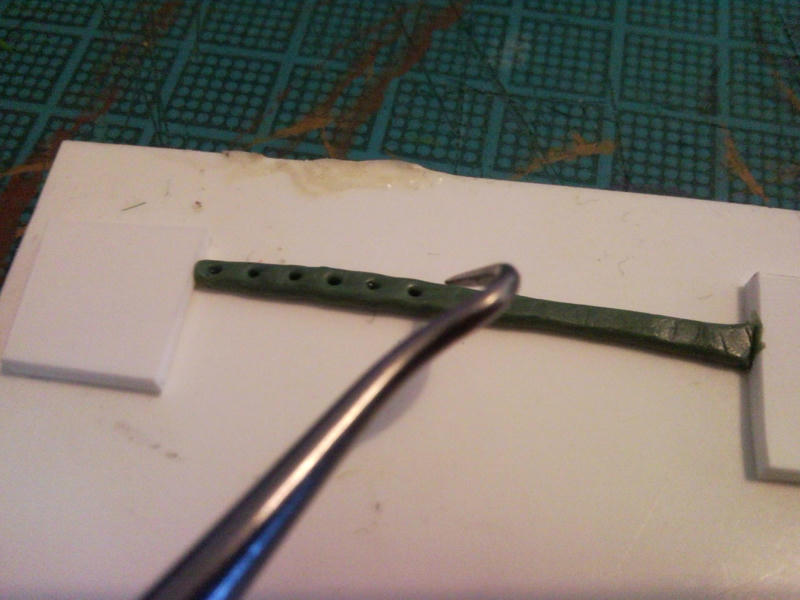
Using the pick tool, press in holes into the green stuff at regular intervals.
The intervals are roughly (from centre to centre) the same at the width of the GS roll plus a tiny bit.
Step 5
http://www1.mediafire.com/imgbnc.php/49 ... 4d165g.jpg
Using the rounded tool (You can use a rounded pencil tip or bradle points if needed) slightly enlarge the holes. Experience from doing a few chains will teach alot more to yourself as you progress.
Step 6

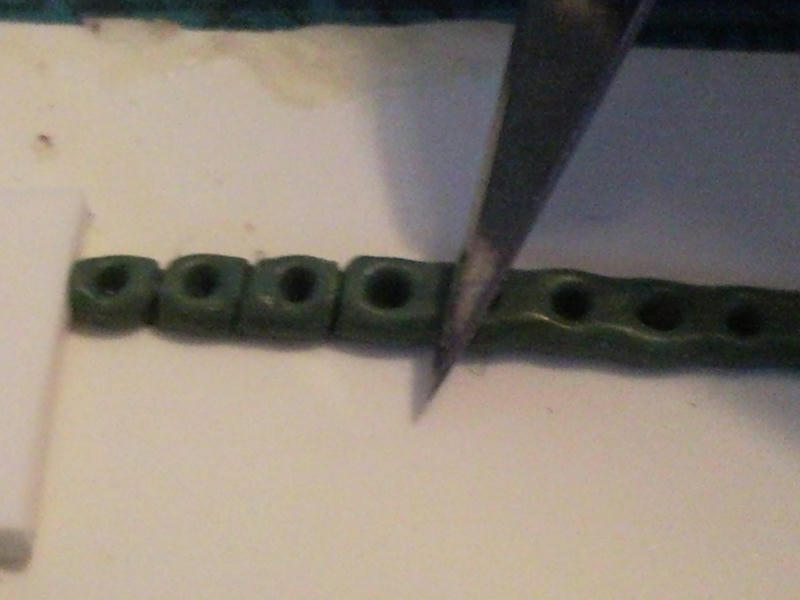
Here we start dividing up the roll into the botom layer on links. Using the
craft knife, lightly cut into the roll inbetween the holes. NOTE; there is no
need to cut all the way through, this is just to give the visual appearance of seperation between links.
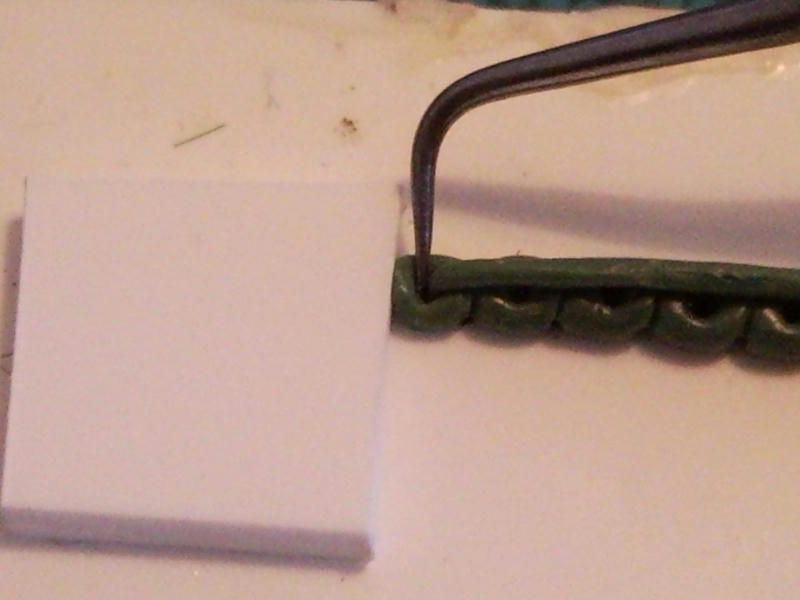
Step 7
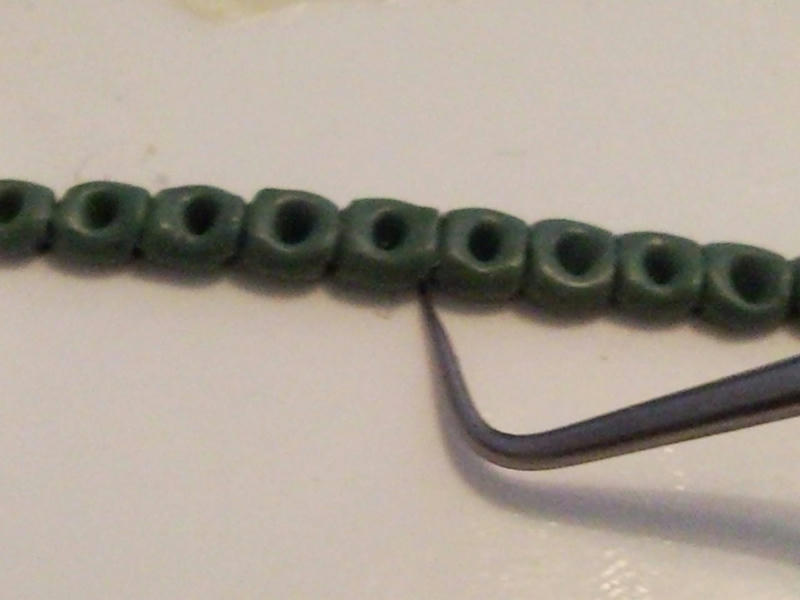
Using the pick tool, start to go along the chain tucking the lower parts of the divided chain into itself. This will keep the look of rounded links. Remember to both sides!
Dependant on where the chain is placed on a mini this may or may not be needed to be done. You may have other GS elements that will cover the lower parts of the chain.
Step 8
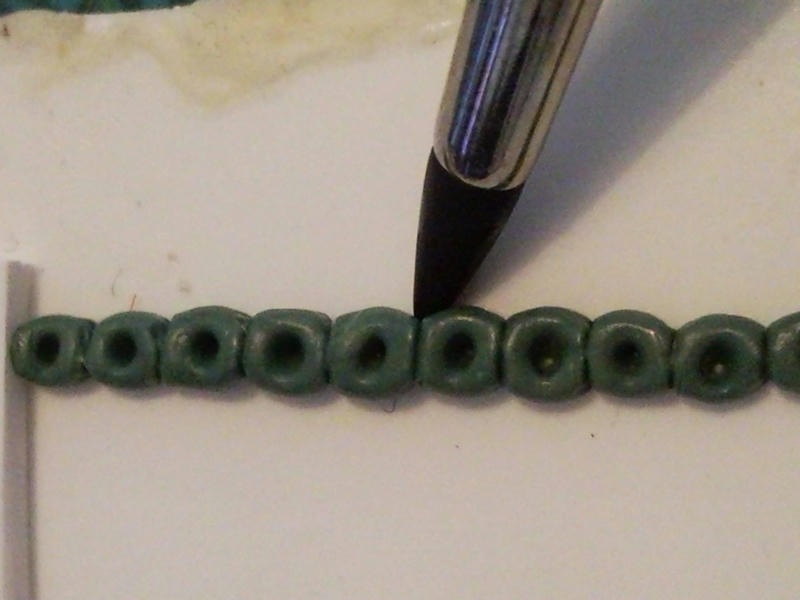
Using the rounded tool, carefully push some of the square looking edges into a rounded form, try to keep a natural round look to each chain, you will have to do both upper and lowr parts of each link for full look.
Step 9
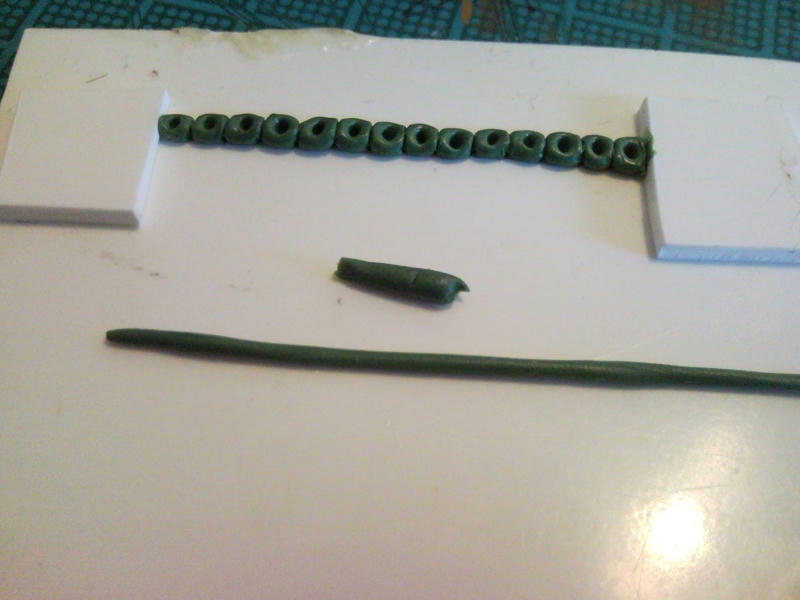
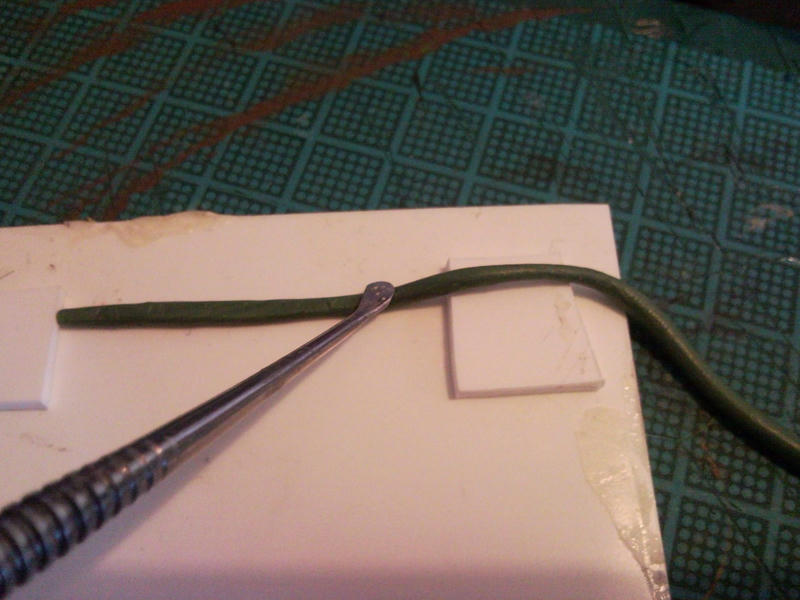
Now we move on to the top layer of interlocking links in the chain.
You will need another roll of GS. This needs to be roughly the same thickness as that of a single link ring. Im talking about the thinkness of the link wall, the bit from the inside of the "Doughnut" to the outside.
You can see the rough comparison above between the original roll and the thickness of the new roll of GS needed.
Step 10

Gently place the end of the roll, just over the hole of the first link to do.
There is no need to press it down at this point.
Step 11
Gently using the pick tool, bend and push the end of the GS roll into the hole of the first link. This will help secure the GS as you work along the next step.
Make sure you keep the rounded for of the link and minimise to amount of tool marks you leave on it.
Step 12
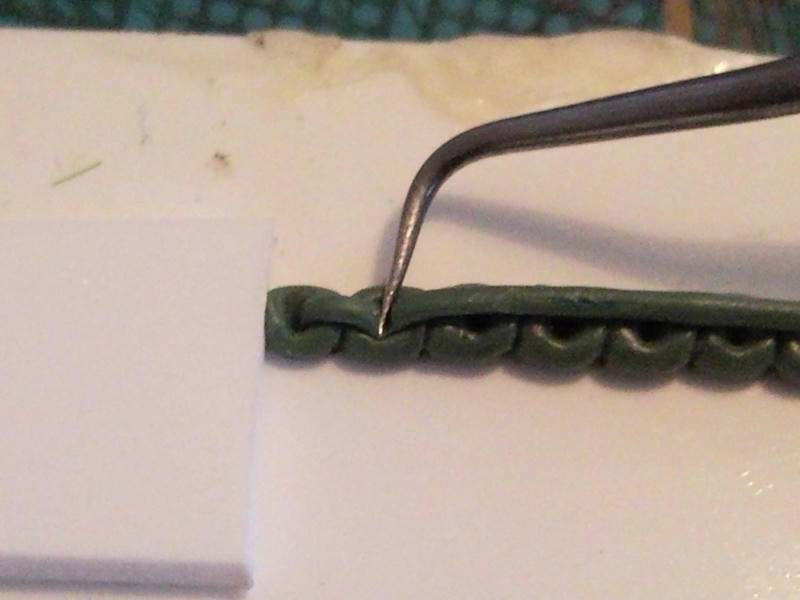

Again using the pick tool, but this time using the length is the spike. Go long the roll of GS and slightly press the GS down at each hole along the
chain. Make sure when the GS is pressed down it does not spread out past the width of the hole beneath. This will make forming the links easier later on and will reduce the effect of GS on GS sticking as you form the upper links.
Step 13
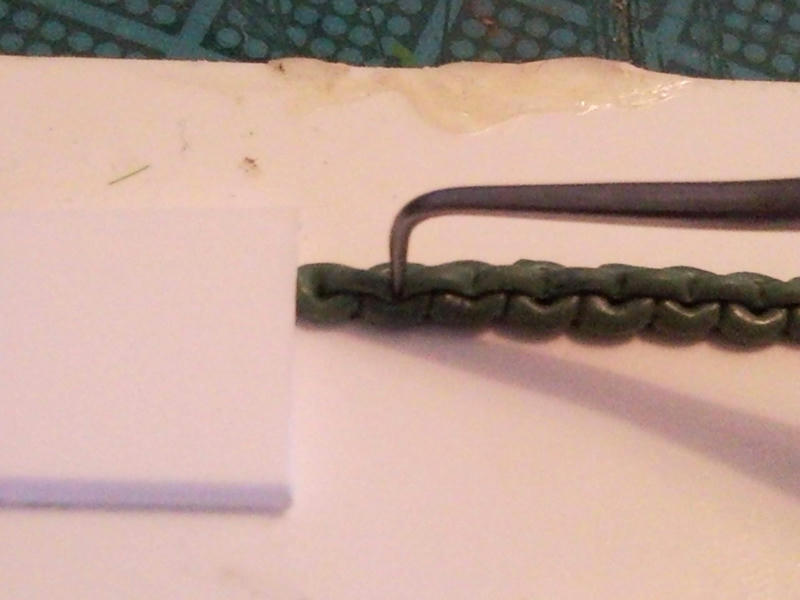
Still using the pick tool and using the point of it go along the chain link by
link. Very carefully start to push the GS down into the holes. The best technique is to push from the outside of the link to the grunt of the hole,
this will stop the GS spreading outwards and deforming the rounded look of the link. This is probably the hardest part to do as you are trying to keep the form of the links and sculpt the upper linkk separations.
Unfortunately, practise does make perfect.....or slightly better !
Step 14
http://www1.mediafire.com/imgbnc.php/47 ... b9c75g.jpg
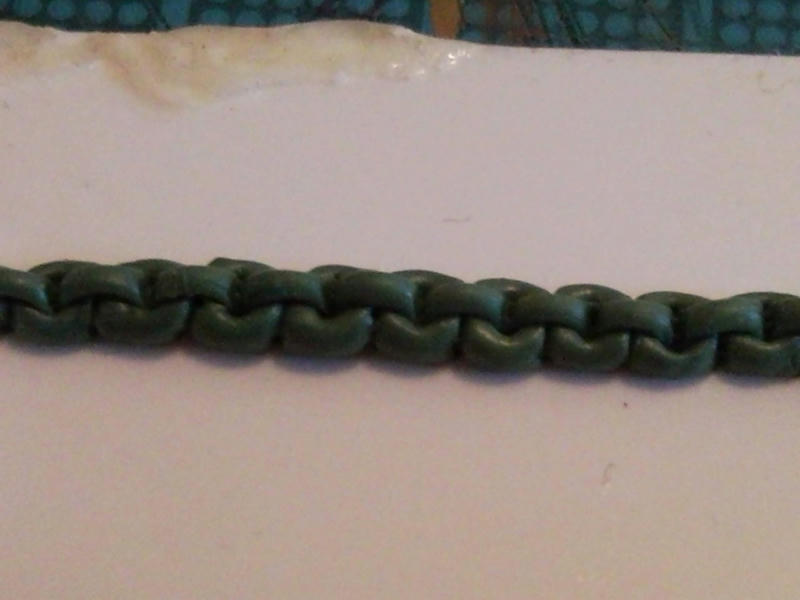
Using the point of the pick tool, you can go back over the chain and tweak the gaps anf links along it. You can also use the rounded tool if you have one to round off or push back bits of waywards GS.
And that is basically it!
Always keep your tools damp or wet when working with GS and patience and practice will see the best results.
If you find a better way of doing the steps on this help then do so, everyone is different. This is just a principle of making a chain.
The principles are the same for most scales of chains, it's just the small the links in the chain the more steady a hand and keen of eye you need to be!
Enjoy!
Pug


 big bad blitzing bullys and monsterous mutations champion